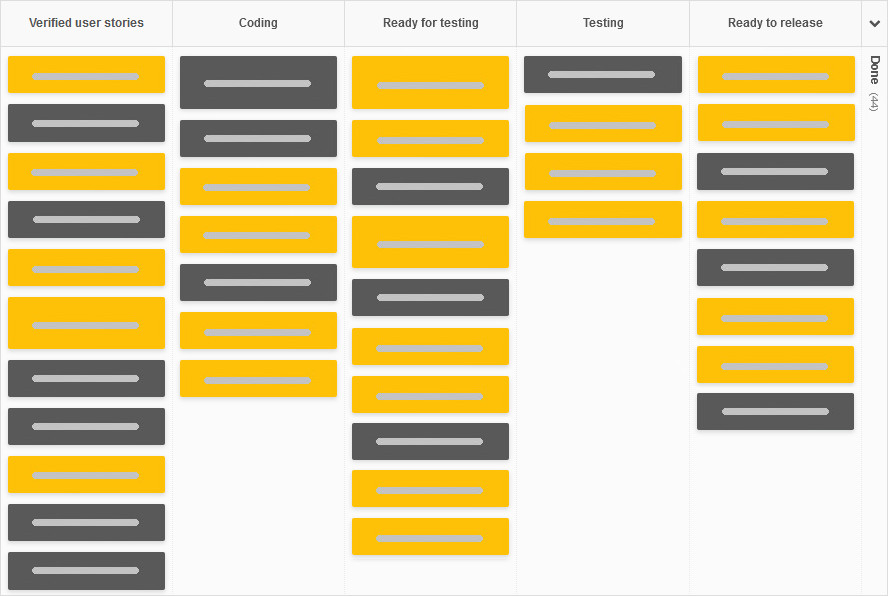
Kanban board

Learn how easy it is to create, edit, and clone your Kanban board. Customize your project's layout by managing swimlanes and columns, applying WIP limits, setting policies, and enhancing the board's appearance for a smarter, more efficient workflow.

How to edit a board?

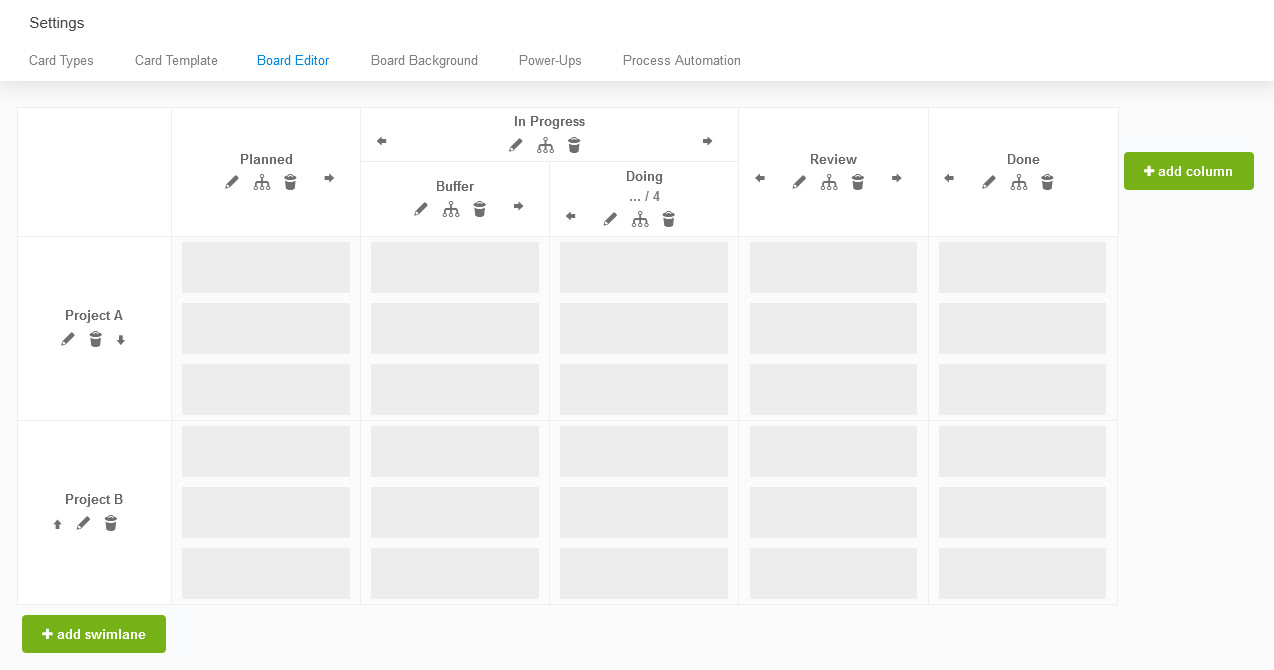
You can edit an existing board at any time from its Settings - Board Editor panel: The board's Settings page The board editor

The pencil icon under a column or swimlane name allows to change its properties, the split-fork icon divides a column into sub-columns, and the bin icon deletes the column (you will be asked what should be done with any cards currently in it). The right, left, up, and down arrow icons allow you to change the order of the columns and swimlanes.

Please note, board settings are not accessible to all account users. Team members, who can access settings are those, that were given at least a project manager privilege or were made a board owner.

What are swimlanes and how to use them?

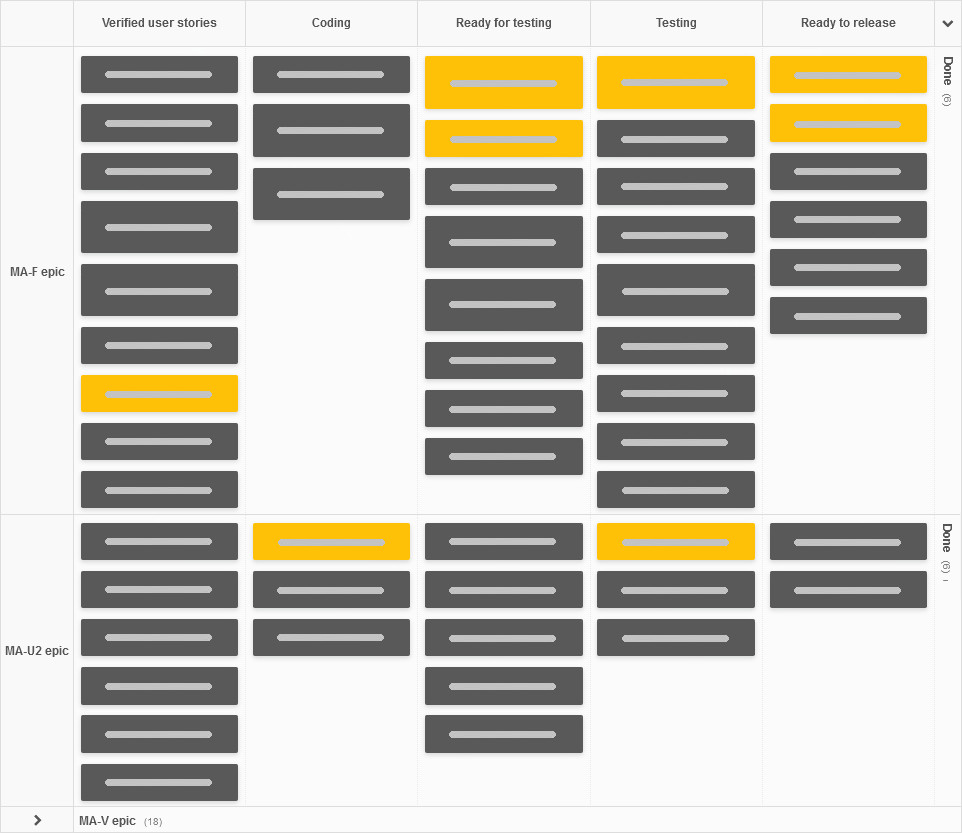
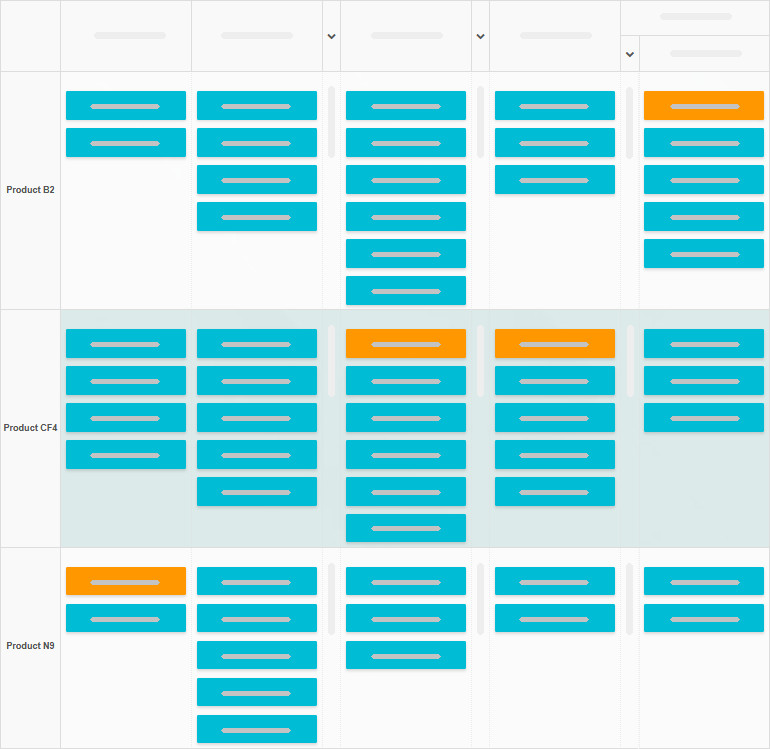
Kanban Tool’s swimlanes are a fantastic way to manage several similar projects on one board, bringing an overview of them all to one place, while still leaving you the ability to concentrate on just one at a time, through collapsing the others.

Kanban Tool swimlanes (rows)

You can use them in any way you see fit. Below are the most common examples.

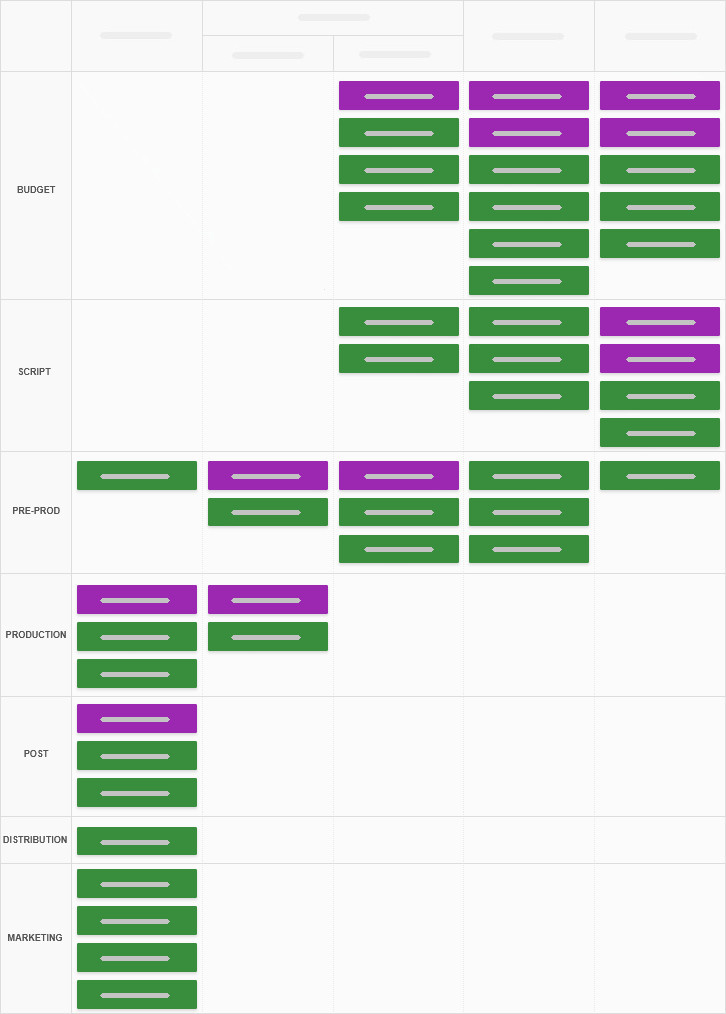
  • Keeping one swimlane per client or per product.
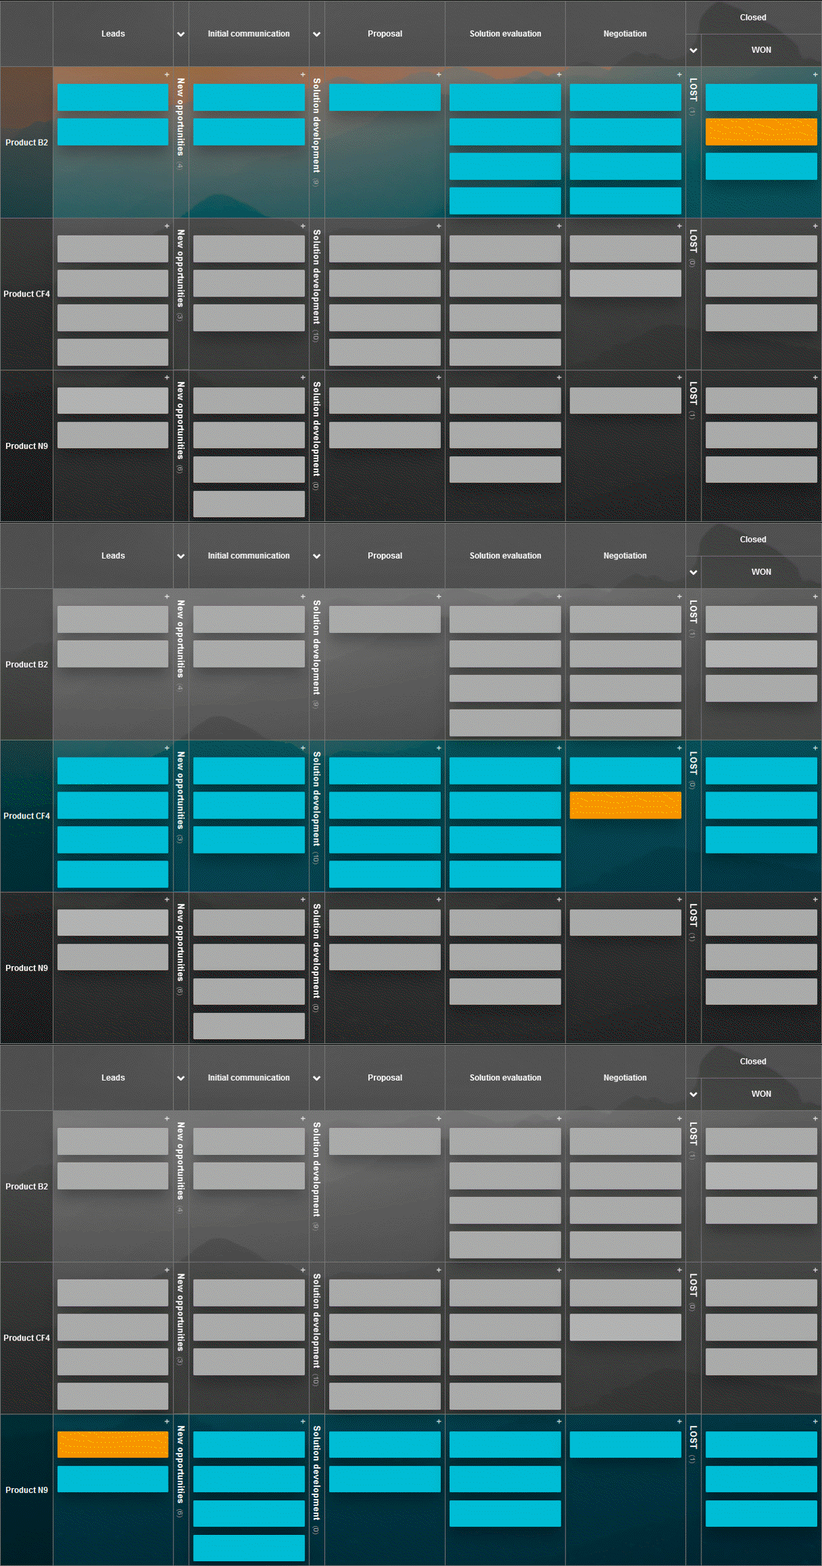
    This saves you the effort of recreating similar boards - instead, you're only adding new swimlanes. It will work, if all clients that you have or all products that you develop, all follow more-less the same process steps - columns:
    (Click to open a full size view.) Swimlane per Product - small
  • Keeping one swimlane per team.
    For processes complex enough to involve multiple teams, it may be of benefit to visualize the process steps as columns, and to show which team is currently in charge of which tasks, by use of swimlanes. So that your process flows not just from left to right, but also from top to bottom.
    On the image below, you see that work in 2 topmost swimlanes is already done and that most jobs now lie with the 3rd swimlane's team. As they get working, tasks will move towards the right, then down to the next team's swimlane: Swimlane per Team - small
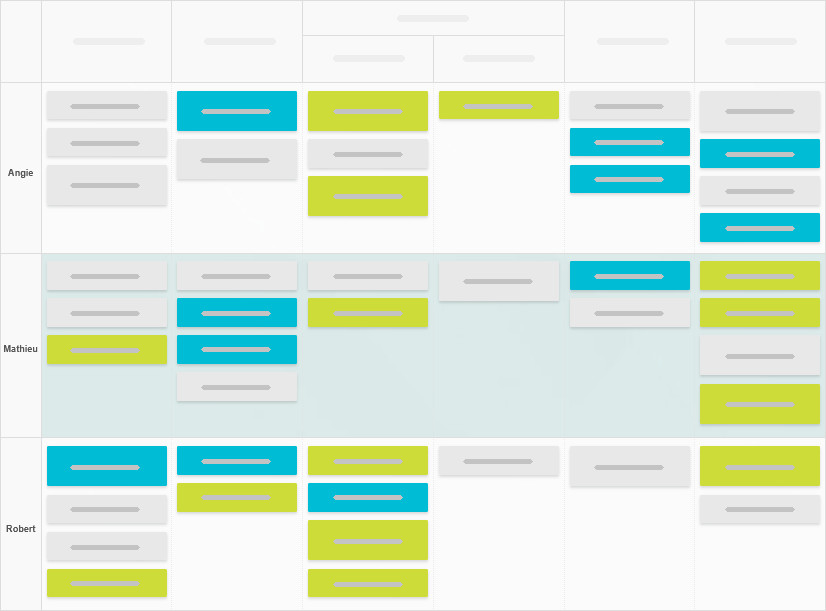
  • Keeping one swimlane per employee.
    For smaller teams organisation, it's not uncommon to use one row per person, to gain instant visibility into various team members' workload: Swimlane per Person - small

If you’re unsure how to add a swimlane to your board, please read article on how to edit Kanban board.

Is it possible to add columns or swimlanes to an existing Kanban board?

Yes, you can edit your workflow at any time.

While on a board, please go to Settings - Board Editor. You can add columns and swimlanes from there with the green +add column and +add swimlane buttons.
You may also change the order in which the columns appear on the board, remove or rename them. The look of any board can be altered at any time.

Please note, board Settings are not accessible to all account users. Team members, who can access Settings are those, that were given at least a project manager privilege, or were made a board owner.

How to collapse a column or a swimlane on my Kanban board?

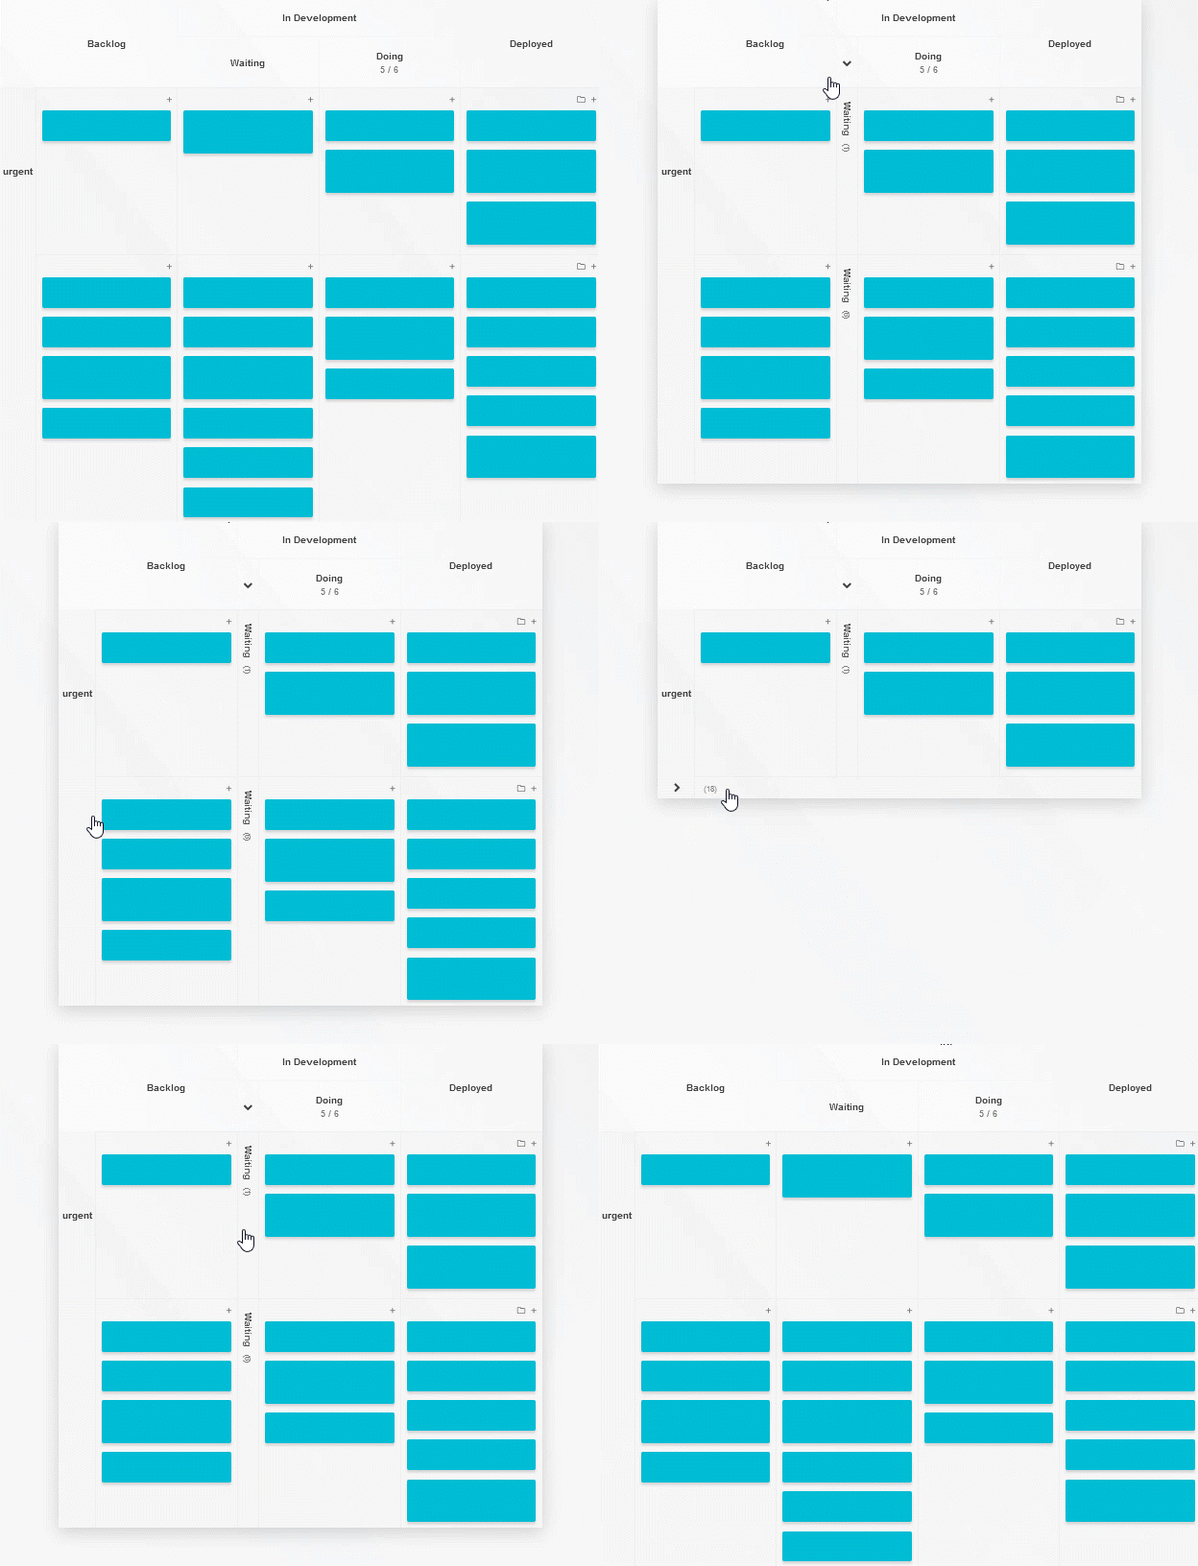
You can collapse or hide columns and swimlanes to avoid scrolling your board or when you want to minimize the board’s visual noise. Click on the header of the column or swimlane, and it will collapse. To unfold an element back again, click on the collapsed column or swimlane name.

Kanban board column or swimlane collapsing

How to set a Work in Progress (WIP) limit?

To set a WIP limit, go to board Settings:

The board's Settings page

From there, enter the Board Editor and click on the pencil icon to edit the Work in Progress limit.

The board editor page

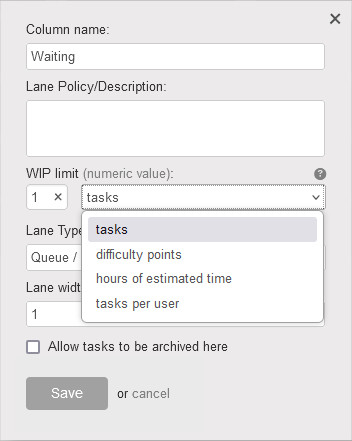
There are four WIP limit settings to choose a limit:

  • By tasks - creates a WIP limit for a specified number of tasks in a column.
  • By hours of estimated time - creates a WIP limit for a specified number hours of estimated time of work - please see more about time estimates here.
  • By difficulty - each task has its own difficulty and you may set the sum of the allowed difficulty for a column.
  • Per user - specify the limit for each assigned user.

Just choose your preferred WIP limit type, fill the Work In Progress value in the numeric field, and save your changes.

Editing WIP limits

Wondering what’s the general idea behind using WIP limits? Please read an article about Work-In-Progress limit.

How do I add Kanban policies to my Kanban board?

Kanban board policies are a way to present guidelines about your process stages (columns) and swimlanes (rows). They are specifically useful when you’re reinventing your process and the team needs reminders on how things should now be done.

Policies are also of help when your company experiences a significant employee turnover and there are always new team members, in need of extra information on how to deal with items on the board.

To add a Kanban policy, while on a board, please go to Settings - Board Editor.

The board's Settings page

Once in Board editor, click on the pencil icon below the column or swimlane name, that you want to add the policy to.

Edit the column details

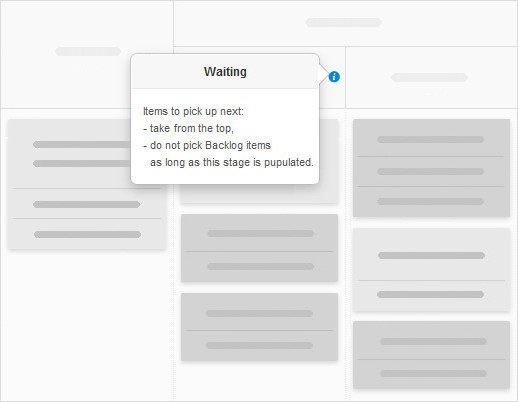
Then simply fill in the Policy description field. The policy will be available for every Kanban board user, displayed when hovering over the blue info icon on a board.

Column policy

If you’re in need of a spot for general board use policies or other team notes, try the Board Readme Power-Up.

Is there any way to zoom a board in/out to see project status as a whole, at a glance?

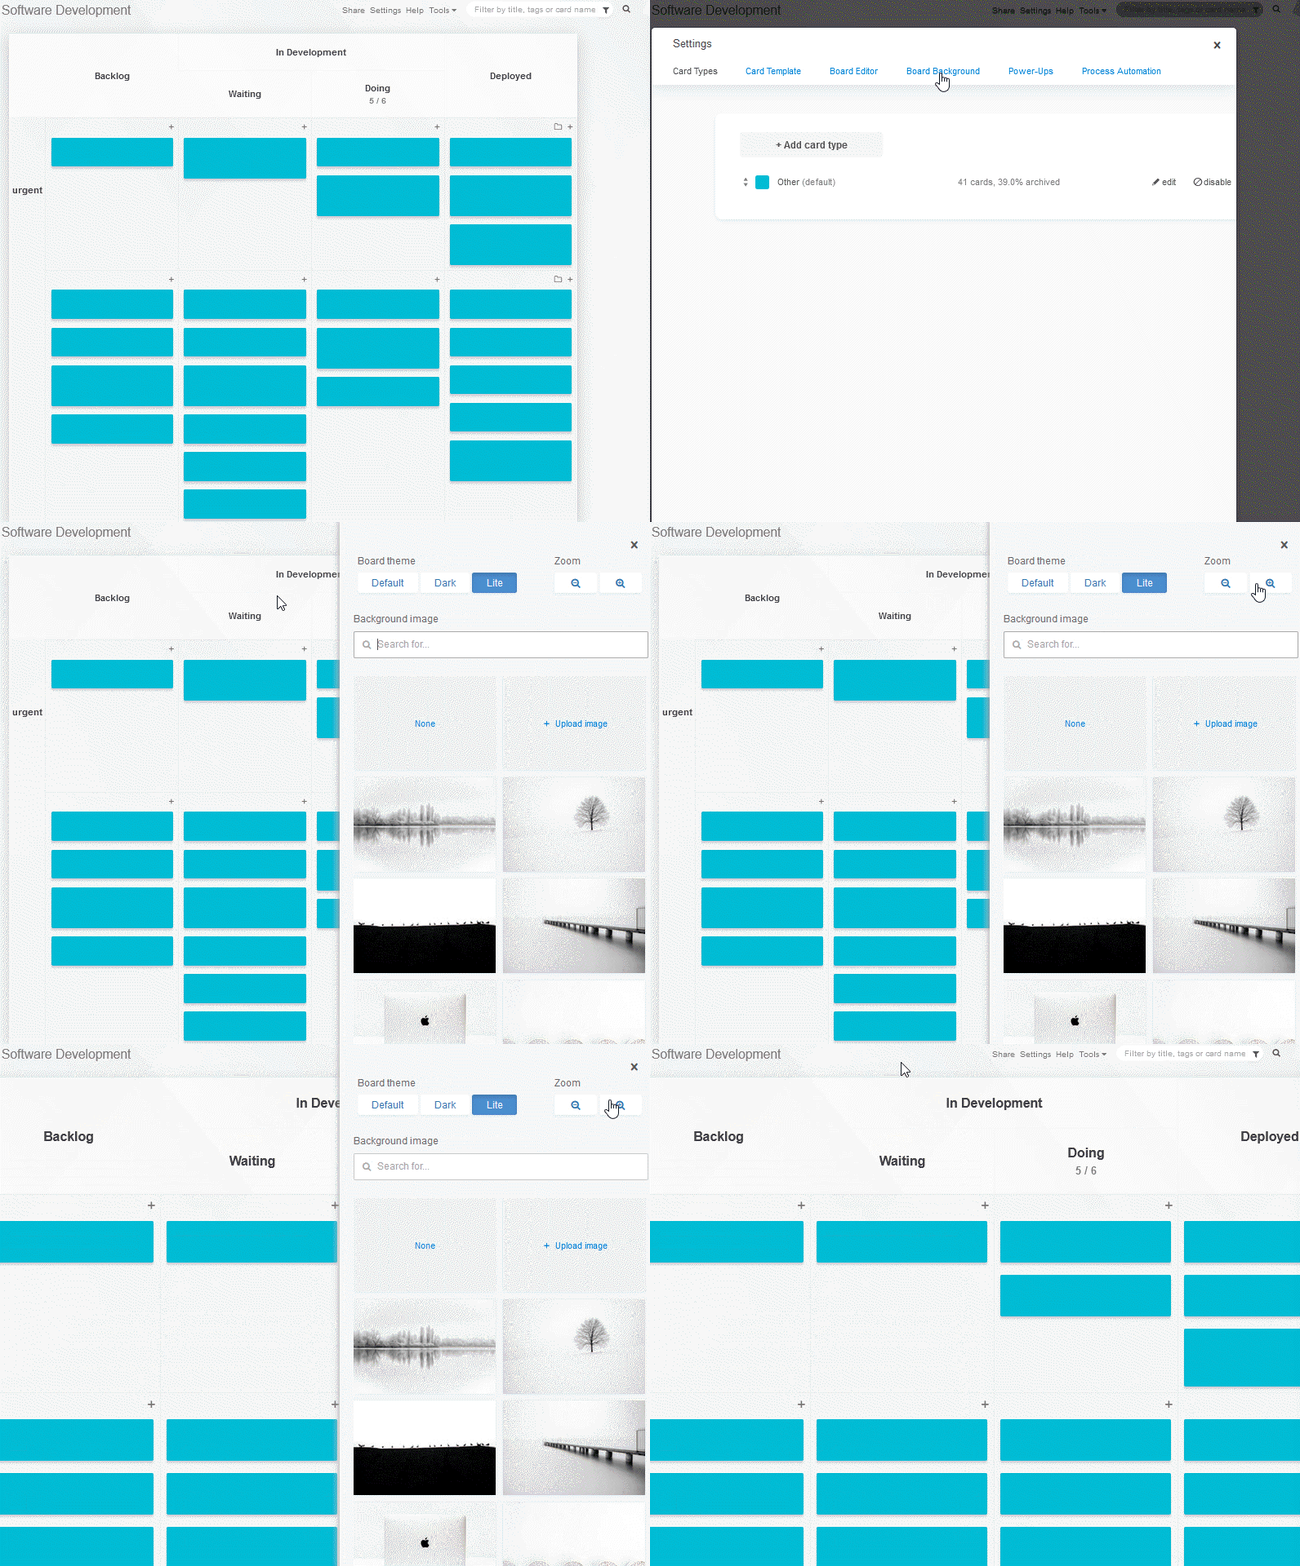
Indeed - you can easily zoom in and out your Kanban board using the built-in zoom, available in Settings - Board Background.

Can I make my board larger?

Board Settings are only accessible to board owners and account admins/owners.

You can also use the build-in browser zoom.Just press the CTRL and + - keys (or CTRL and mouse scroll) to zoom in and out. To go back to the default view use: CTRL and 0.

Using the browser zoom will only rescale your own view of the board. Using the Kanban Tool built-in zoom will resize the board for all its users.

For more information, please read and article on making the Kanban board view larger.

How can I print a Kanban board?

To print out your Kanban board try one of these three methods:

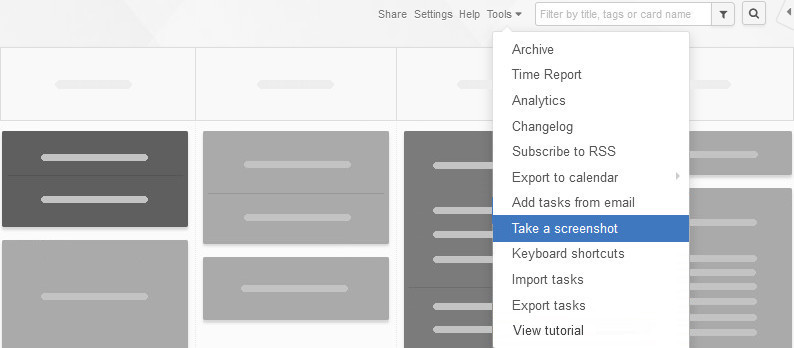
  • Go to the Tools menu and click Take a screenshot. Take a screenshot Once the image is ready, open it and press CTRL and P or go to File - Print.
    Please note: this option is not supported in Internet Explorer 8 or lower.
  • Use the shortcut keys:
    press CTRL and P to open the printer settings dialogue, then click on the print button. Please note, that each browser has its own implementation of the print function, and results may vary. You may get the best results with Firefox, after enabling printing of background colors and images. Chrome also works well, but may require the Print background colors extension to be installed. For other browsers, the setting for printing background images is usually disabled by default. You need to find an option to enable printing background images. This can usually be found in a Page Setup section of a Printer Setting dialogue.

    Printing out boards which size exceeds your screen area

    If your board is very large, and portions of it are outside the visible screen area, you can still capture screenshots of all columns and swimlanes - or of a very long open card - by using this advanced browser-based 3-step option (for Google Chrome and Microsoft Edge browsers):
    • CTRL + SHIFT + J
    • CTRL + SHIFT + P
    • Select Capture full size screenshot - the entire page will download as an image.
  • Make a printscreen of your Kanban board. Press the PrintScreem key on your keyboard and paste it in any graphic program you use (e.g. Paint, Photoshop, Paint Shop Pro, GIMP) and print it from that program, or save and print the image.

Why use multiple Kanban boards and what can I use a Kanban board for?

The potential of Kanban board usage is boundless. What you do with a board depends on you and on how you like to work.
One of our customers tracks the production of knee replacement implants - when we say “boundless potential” we mean it!

You can use the boards in many different ways:

  • as a list - eg. a list of processes: marketing, sales, development or a list of ideas; or a list of projects within a company
  • as a reminder - of appointments, meetings and important tasks
  • to track all the activities and work to do, optionally split visually with swimlanes
  • to follow each of your projects separately - this way you can see metrics in Analytics tab for each project separately
  • to organize work for each customer separately - when you work for multiple customers, requiring various types of work, going through different flows.

You’re welcome to view examples of Kanban board use cases, board layouts and case studies.

My cards are out of alignment and my board looks messy. What can I do to fix it?

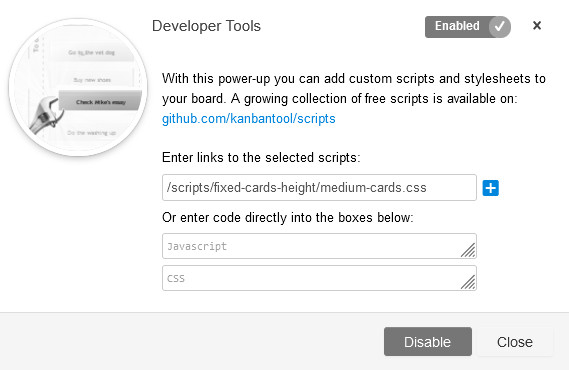
Different card sizes may cause empty spaces to show between cards. To fix this, you can use a Developer Tools power-up, that allows you to set card heights and prevent them from going out of alignment.

Fixed Card Height

Go to Settings - Power-Ups and enable the Developer Tools.
Here you can paste the Fixed Card Height script from our GitHub database.

Fixed Card Heights Script

Please note, board settings are not accessible to all account users. Team members, who can access them are those, that were given at least a project manager privilege or were made a board owner.

Note, this script is incompatible with these card design altering power-ups: Interactive Checklists, Card Covers, and Task Summary.

Can I clone my boards?

Love the way your Kanban board has been set up? Want to re-use it in another project? Feel free to clone it!

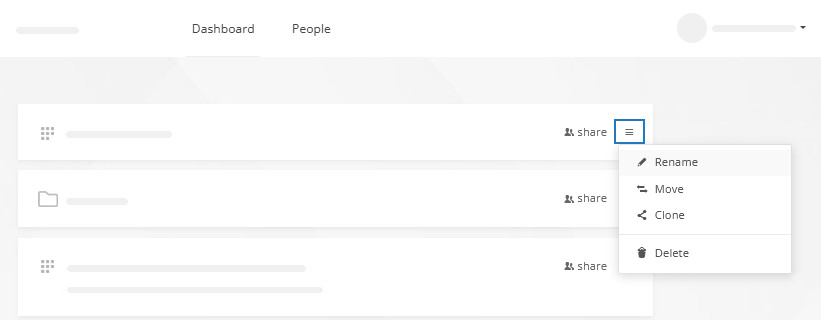
To clone an entire board with its settings - layout, card types, card template, enabled power-ups - and with all visible tasks, go to the dashboard. Click the more icon, next to the name of the board you want to duplicate, and select clone.

Clone a board

Then, fill in the new board name, check the clone all visible tasks box and hit Clone board.

Please note, that this option intentionally doesn’t clone the archived tasks, nor active task comments and assignments.

I cannot see any boards or folders, why? How to share a board?

If you don’t see any boards or folders when you log in, it means that the team member, who invited you to the account, has not shared anything with you yet. Please ask them to share a Kanban board with you.

Account owners, admins an project managers can share boards with others. The fastest way to do is, is through the Share option, available in the top right corner of each board, next to Settings, Tools and Filter box.

The on-board Share option

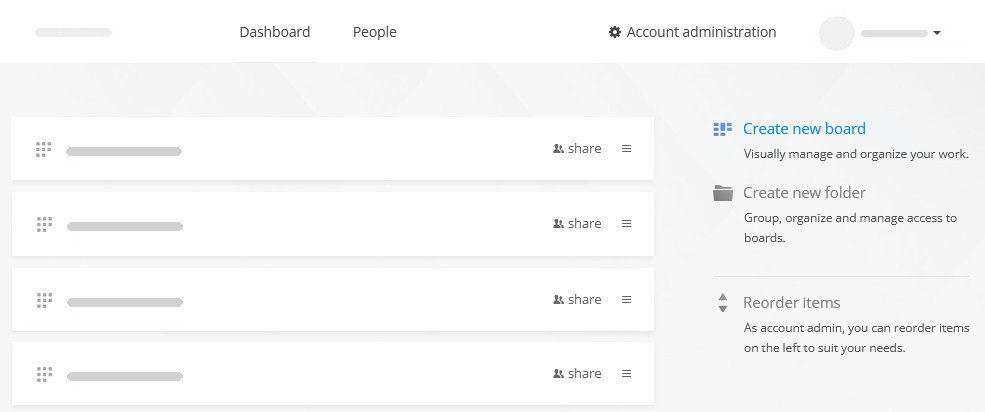
It’s also possible to invite people to the account via the People tab, and then decide which boards and folders they should see, from the dashboard (all boards list) - just click the share option visible next to each Kanban board or folder name, and choose in what capacity the items should be accessible to a team member. Full, read-only, or custom access is possible to set.

Choosing which users can access the board

You can also share boards with all members od the organization at once, or - provided that you’re using the Enterprise service plan - with selected user groups.

When should I move a task to Waiting on Kanban board?

Kanban is an incremental, evolutionary process based on a constant improvement approach, called Kaizen. Use of the Waiting column depends on your workflow, capacity, and the WIP limits applied to the “In progress” column. Here are the 2 most common scenarios in which a Waiting column is used:

  • You should move tasks to Waiting when you are ready to be pulling new tasks. When planning your work for a day, or a week, place as many tasks as you should be able to complete within this time in the Waiting column. It will create a buffer with all your planned tasks, from which you’ll be able to pull after completing previous work.
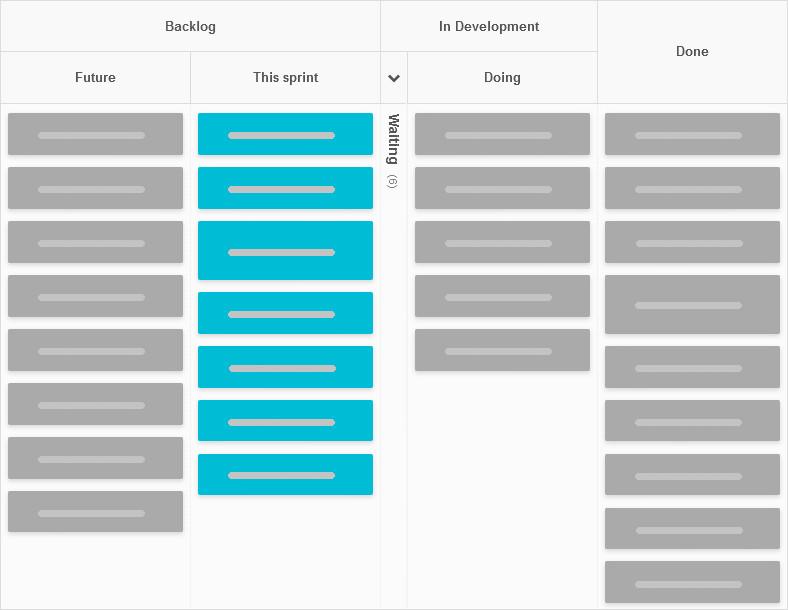
  • You should move a task to Waiting when it’s waiting for somebody else’s approval, or more information is needed to complete it.
    In multi-leveled teamwork, it’s a common occurrence for senior team members to delegate tasks to the junior team. These tasks then may require approval or comments from the assigning personnel. I.e.: you’ve completed the work for now, but it needs approval - so you move the task to Waiting. Once approved, it will either be moved back to Doing for you to change something, or it’ll be moved to Done.

Related: Remember to set a WIP limit on your Working column.
You can find more information about WIP limits and Kanban boards here: Importance of Kanban WIP limits and Kanban board.

There are many more possible uses for a Waiting column, feel free to use a solution that works best for you and your team.

Where can I see a card type legend?

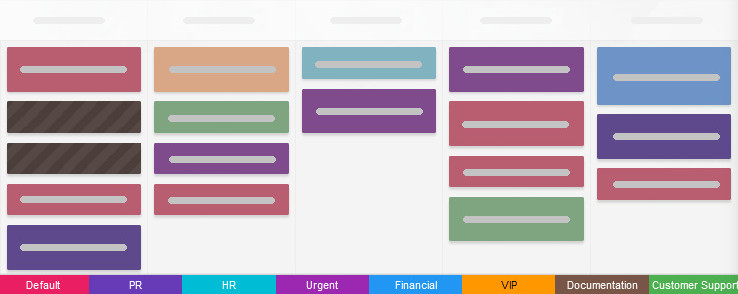
The easiest way to show a card types key on a board, is to enable the Card Legend power-up.

Card Legend Power-Up

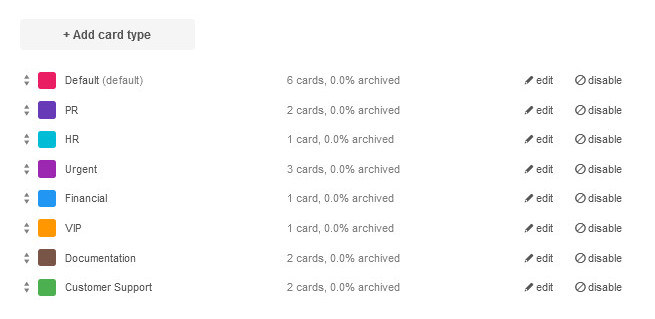
Another way to peek at the available card types is to navigate to Settings - Card Type. This is also where you can change the existing card types, or add more.

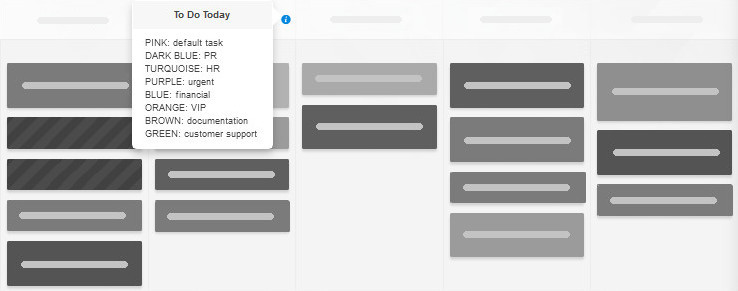
If you like, you can also set up a card type legend through the Lane Policy field. To try it, go to Settings - Board editor, then edit the column in which you want the card legend to be displayed, and enter your information as Lane Policy / Description field. You will be able to view it by hovering over the columns information button:

Card Legend Example

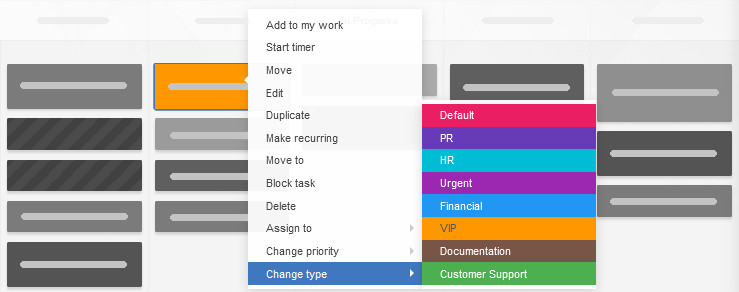
Finally, you can glance at what types of cards there are, by right-clicking any task and testing the Change Type option. With or without changing the type, you will see what card types there are to choose from.

Change the Card Type Legend View

How to create a board?

To create a new board, simply navigate to your dashboard - home icon at the top-left of a board view - and use the blue Create new board link.

How to create a board

You will be asked to name your process steps and card types (or, you can ask the AI Assistant to suggest a layout for your needs), you will also be allowed to add a few tasks to start with, as well as to choose a background image for your board.

Creating a new board

If you want to use the Time Tracking & Reporting and have task timers start and stop seamlessly, as cards move through the process, make sure to assign appropriate Lane Types to your doing and done columns. You can do this any time from board Settings - Board Editor.

If you’re using Kanban Tool Team or Enterprise plan, you can create as many boards as you want to. Free plan users are limited to two boards only. Your plan choice can be managed from Account Administration - Plan & Billing details.

How to sort cards on my board?

Kanban prescribes that cards are added to the bottom of a column - and that’s where they will be added when you add a new task in Kanban Tool. To-do items should be picked up from the top of the column, keeping the First-In-First-Out order, thereby making sure that no tasks linger on the board for months on end.

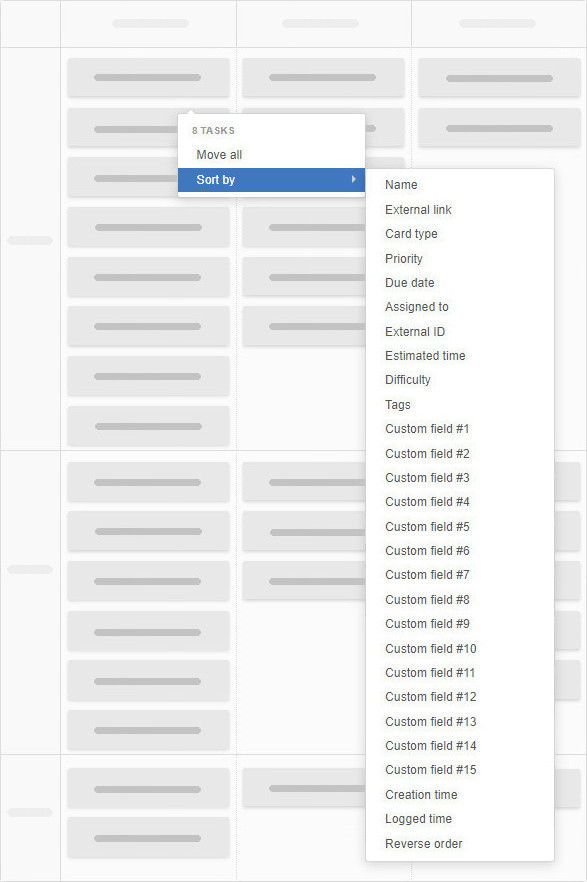
If, however, you’d like to have the cards sorted in any other way, you are welcome to do so. There is a built-in sorting option for each column of the board. Simply right-click a column header and choose the parameter that you want to have the cards sorted by:

Sort Cards in a Column

The option is also available when right-clicking an empty area within a column.

Multiple selection: How to edit a number of tasks at once?

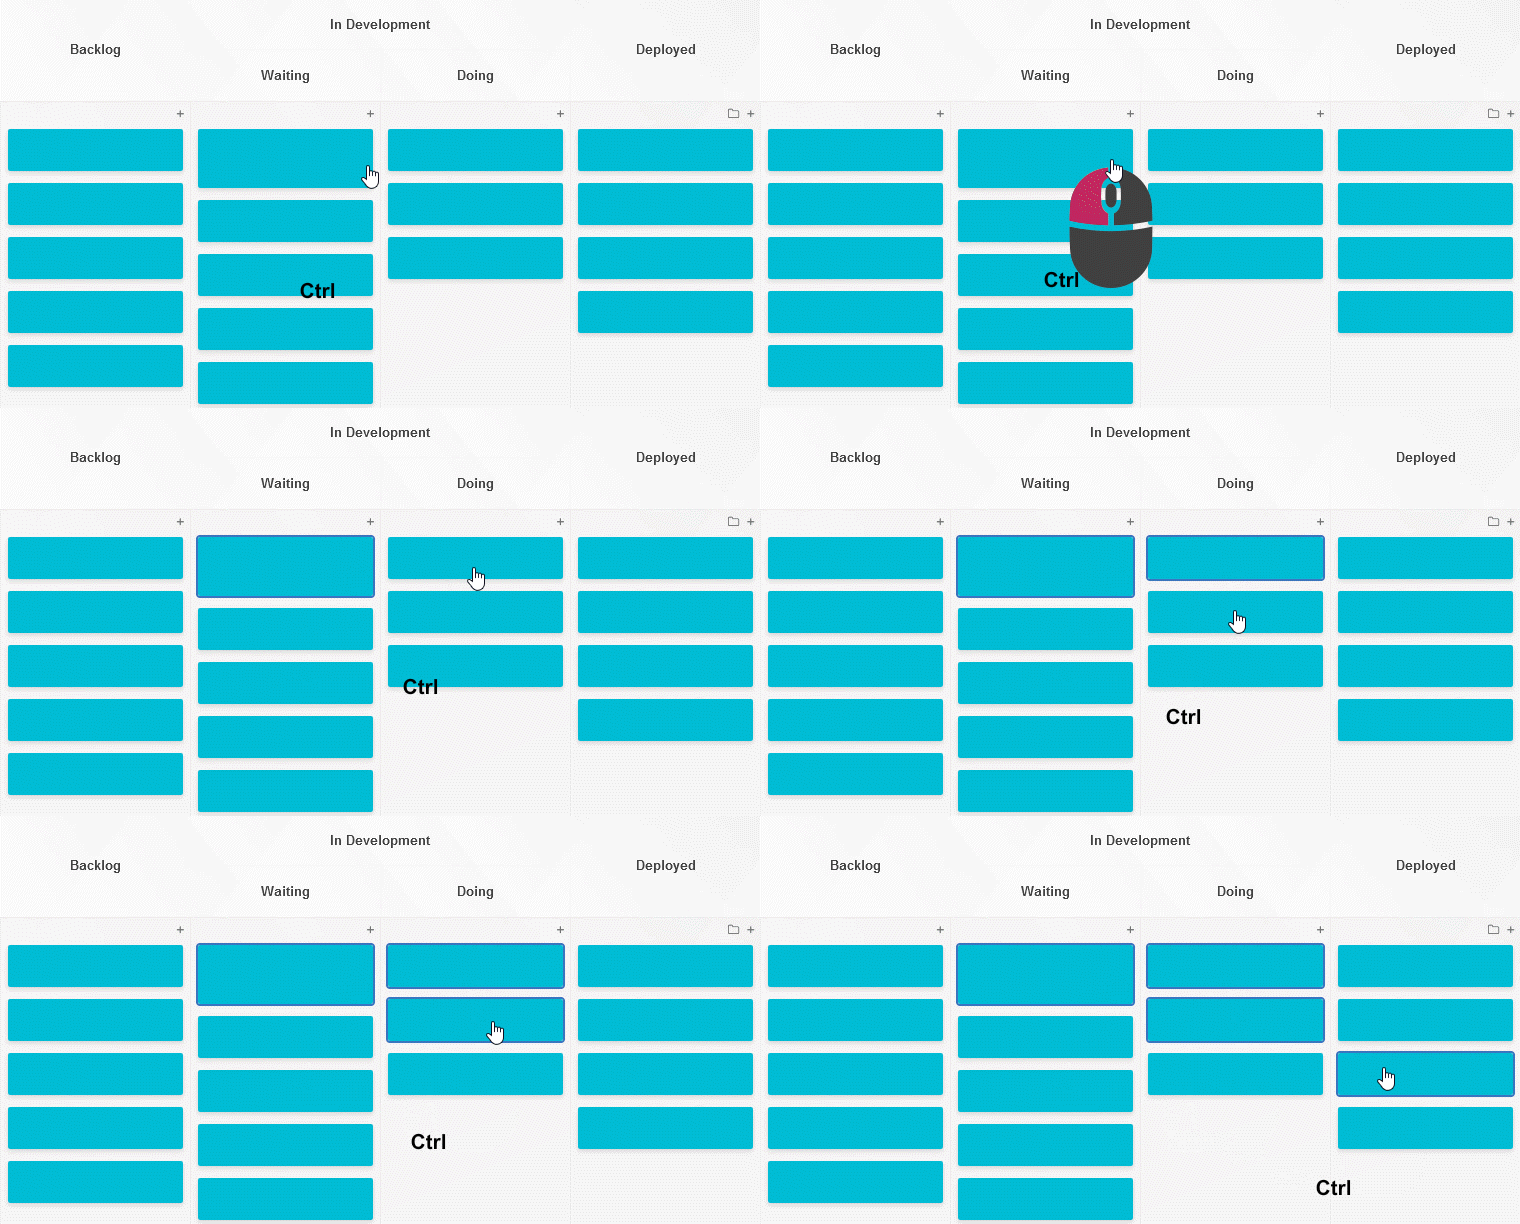
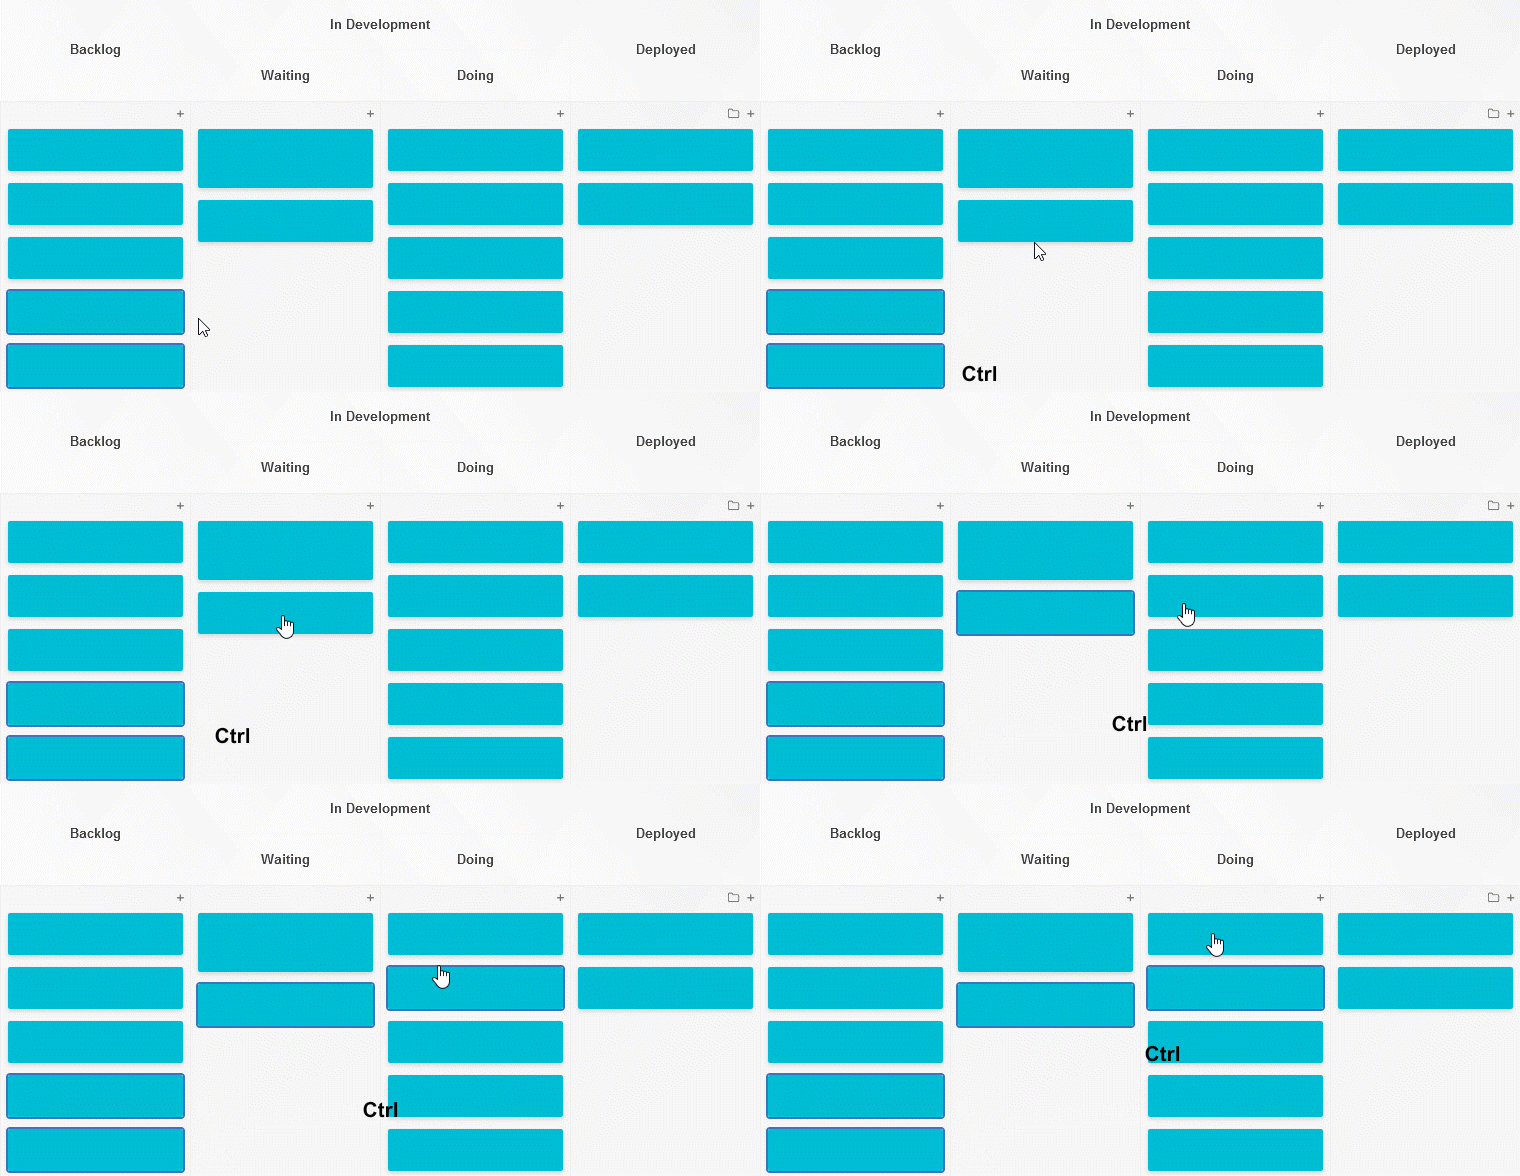
To select a few tasks on the board, simply click on them while pressing the CTRL key.

Multiple Select

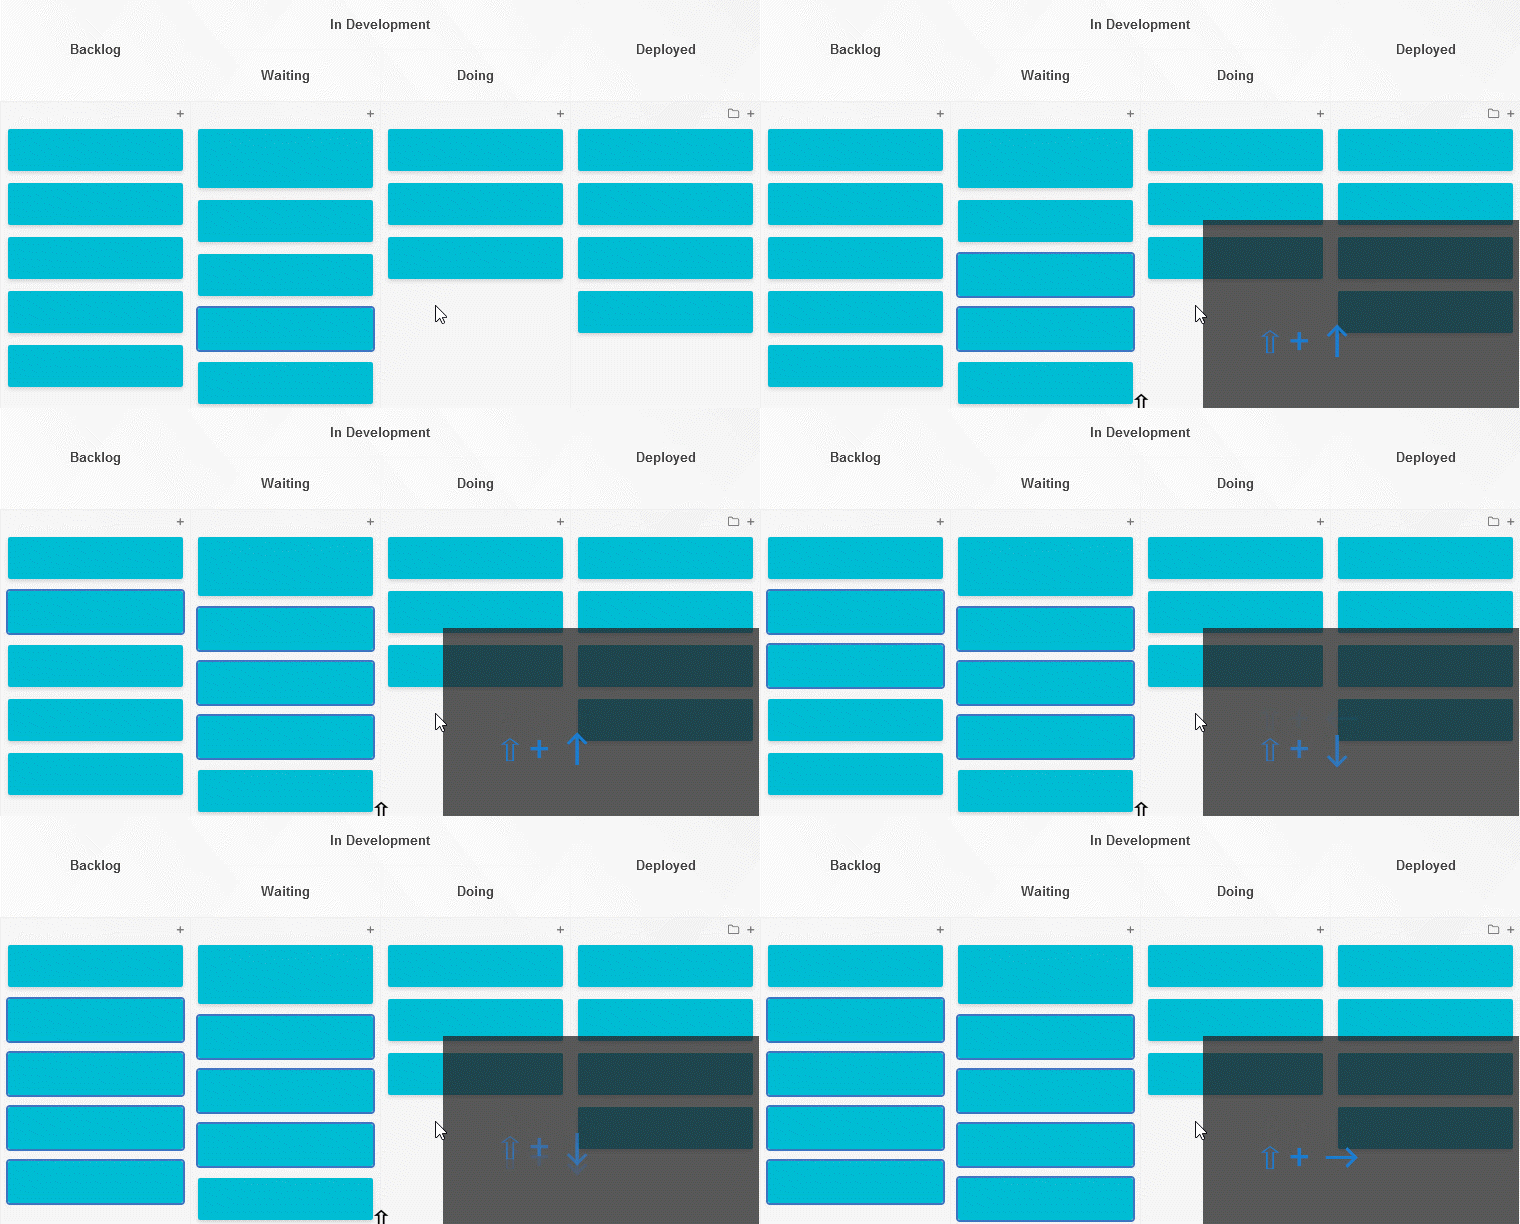
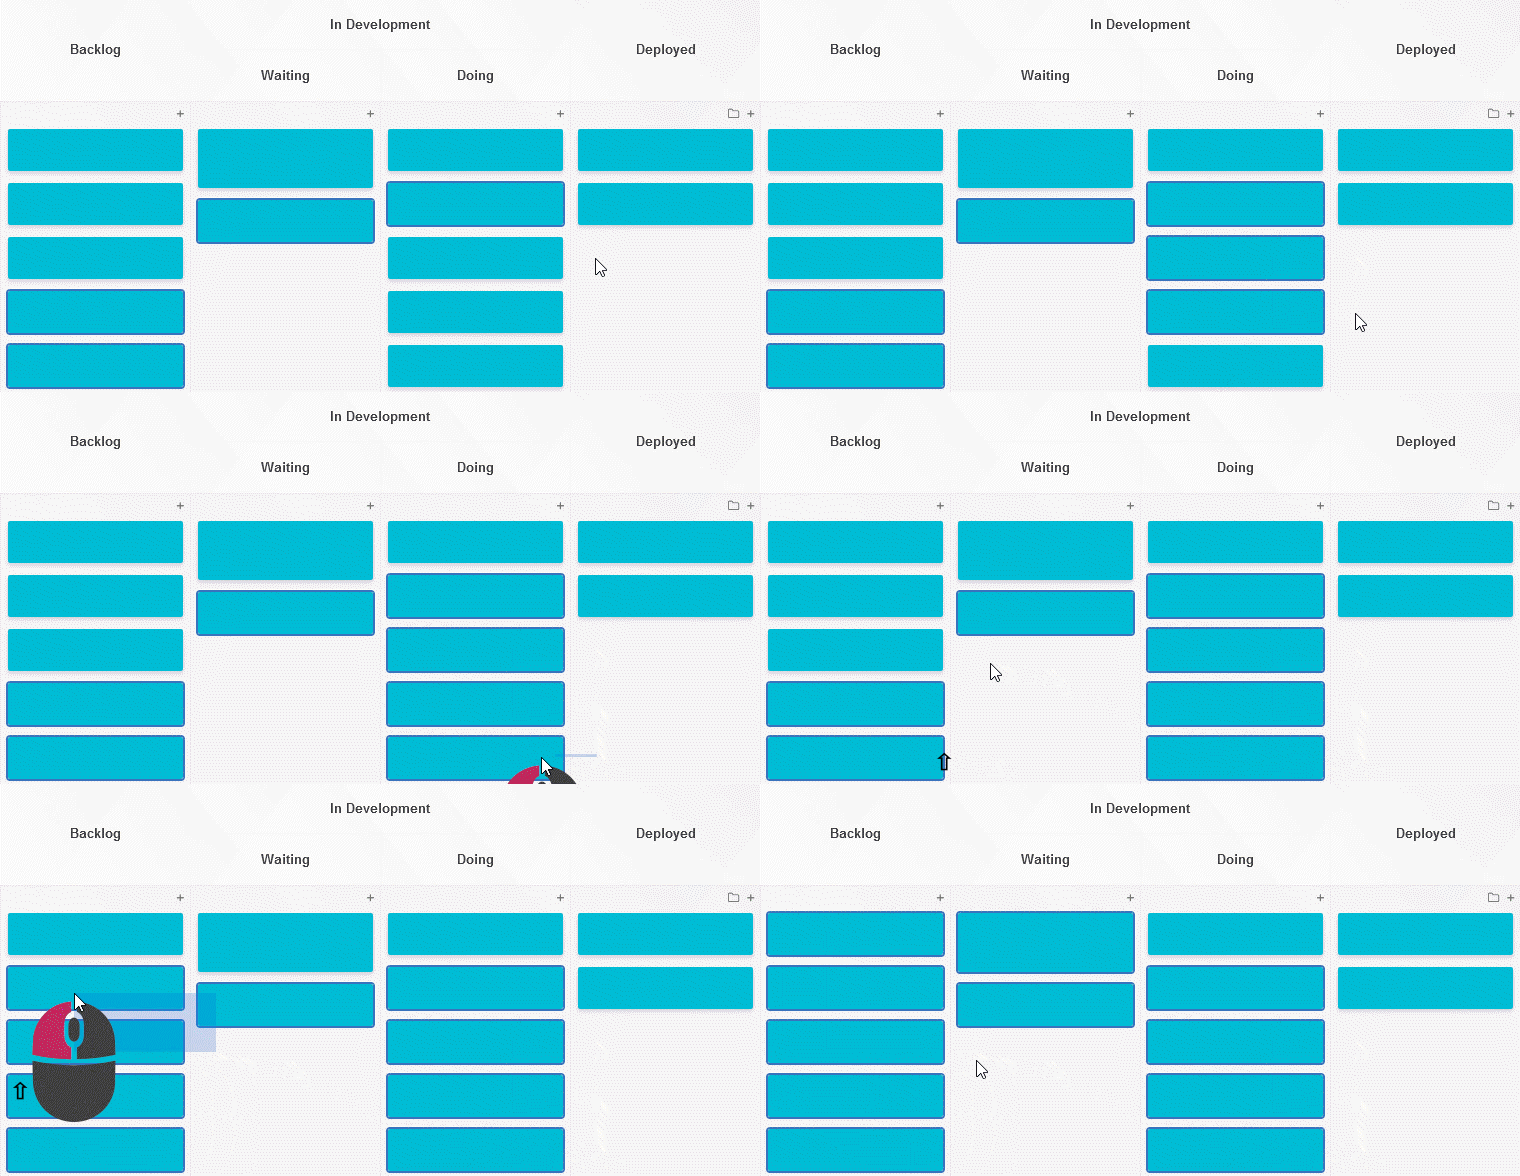
Alternatively, you can select several cards at once by keeping the SHIFT key pressed and navigating with the keyboard arrows, adding the cards you mark to the selection:

Using arrow keys to add more cards to the selection

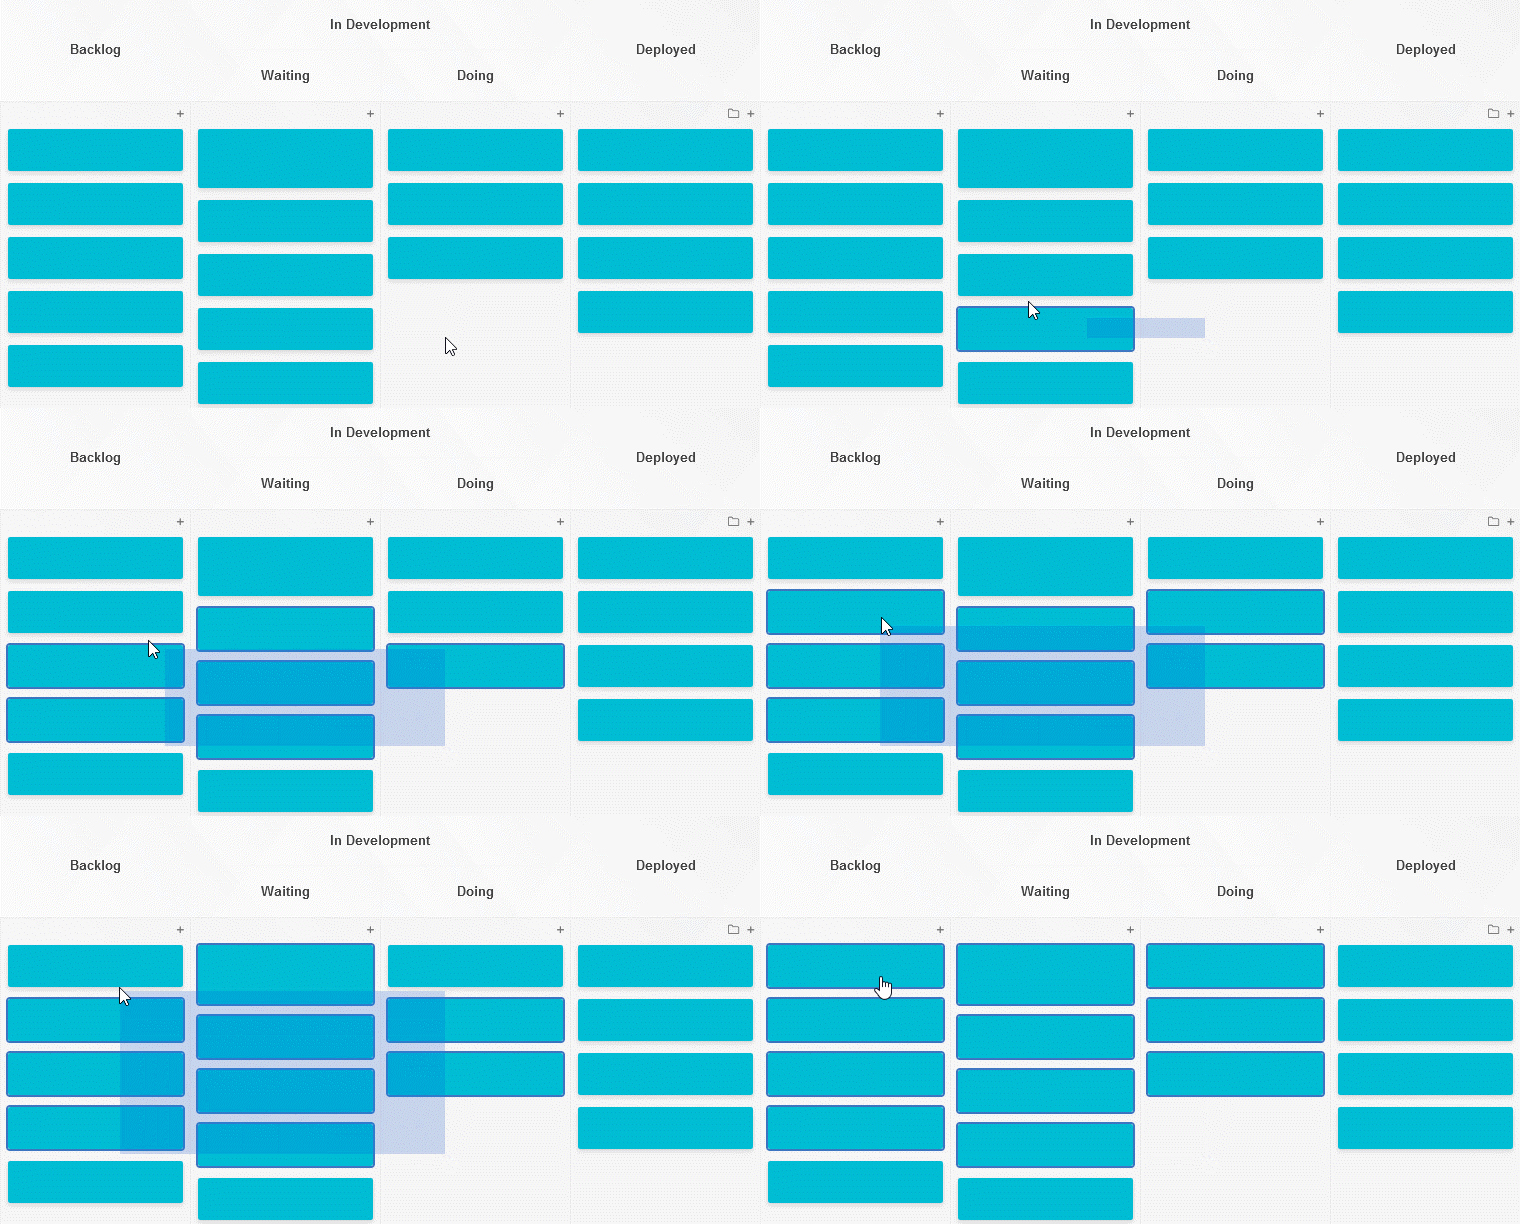
Or, you can select cards by drawing an area rectangle on the board with the mouse pointer, just like in your operating system. Once you have your set of cards chosen, you can edit them at once, move them all to a specific column, or another board.
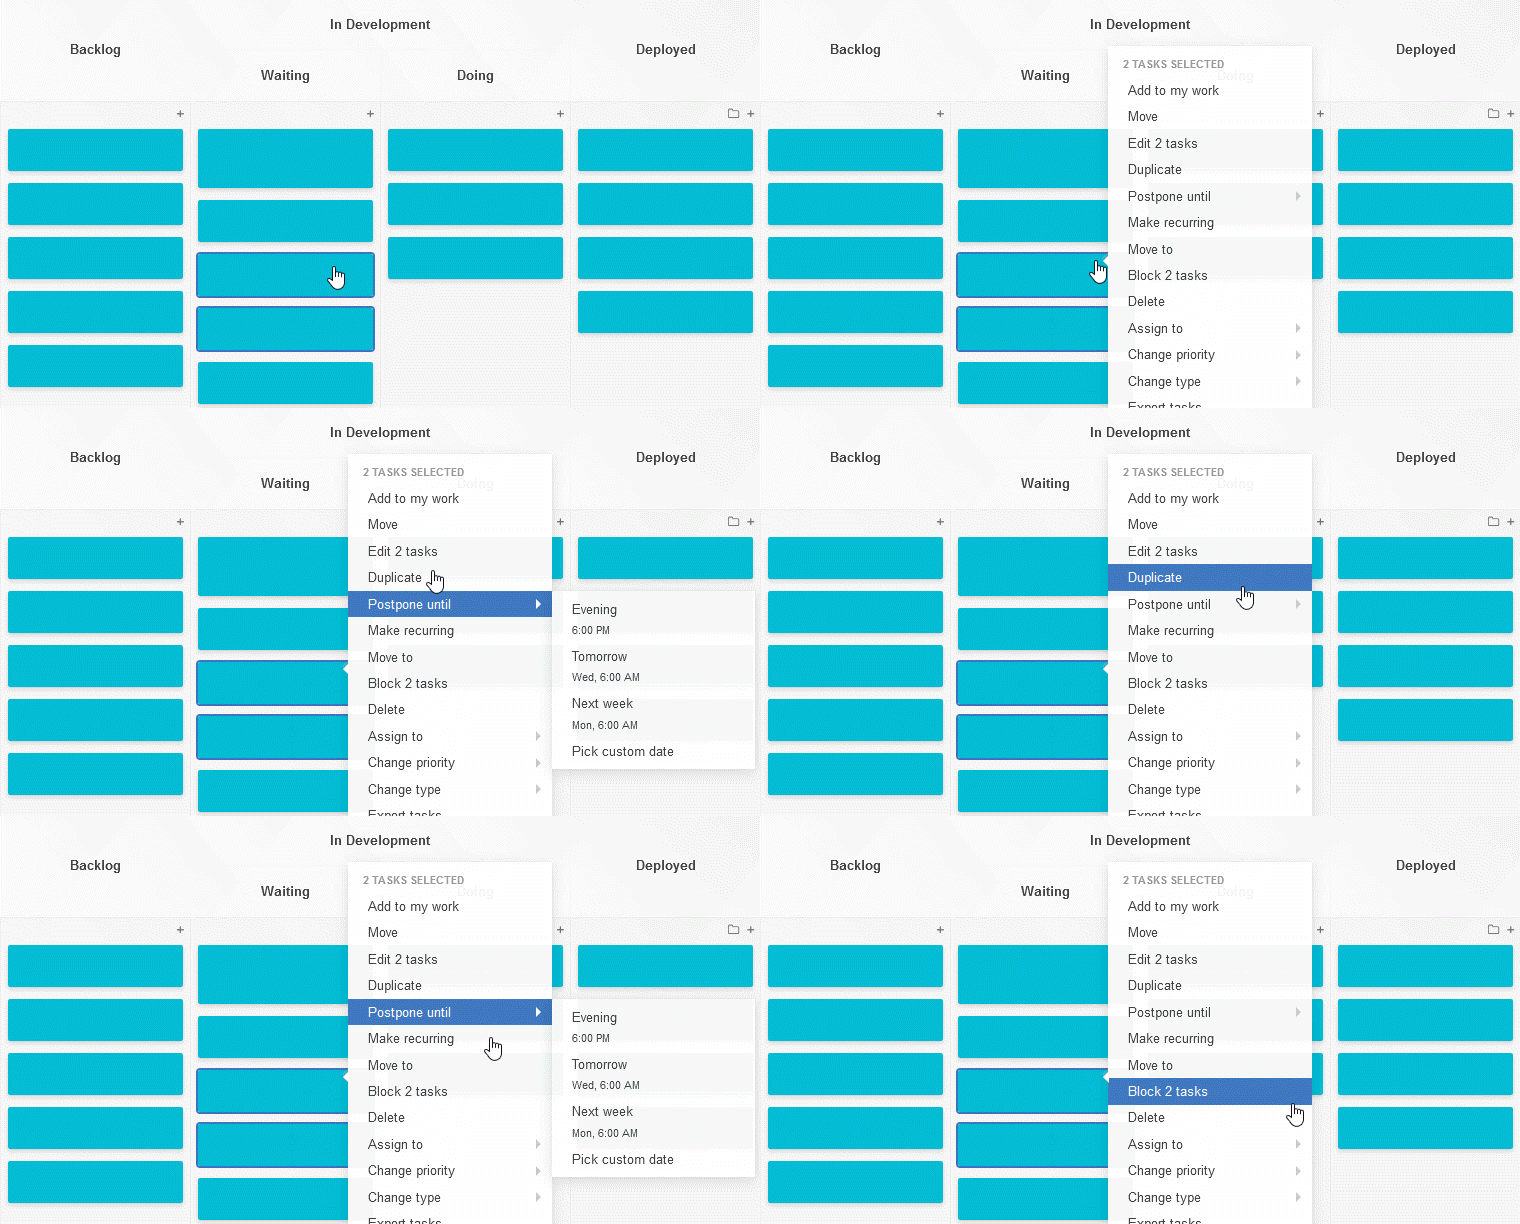
To update all of the selected cards, right-click any of them and use the “Edit # tasks” option in the context menu.

Editing several tasks at once

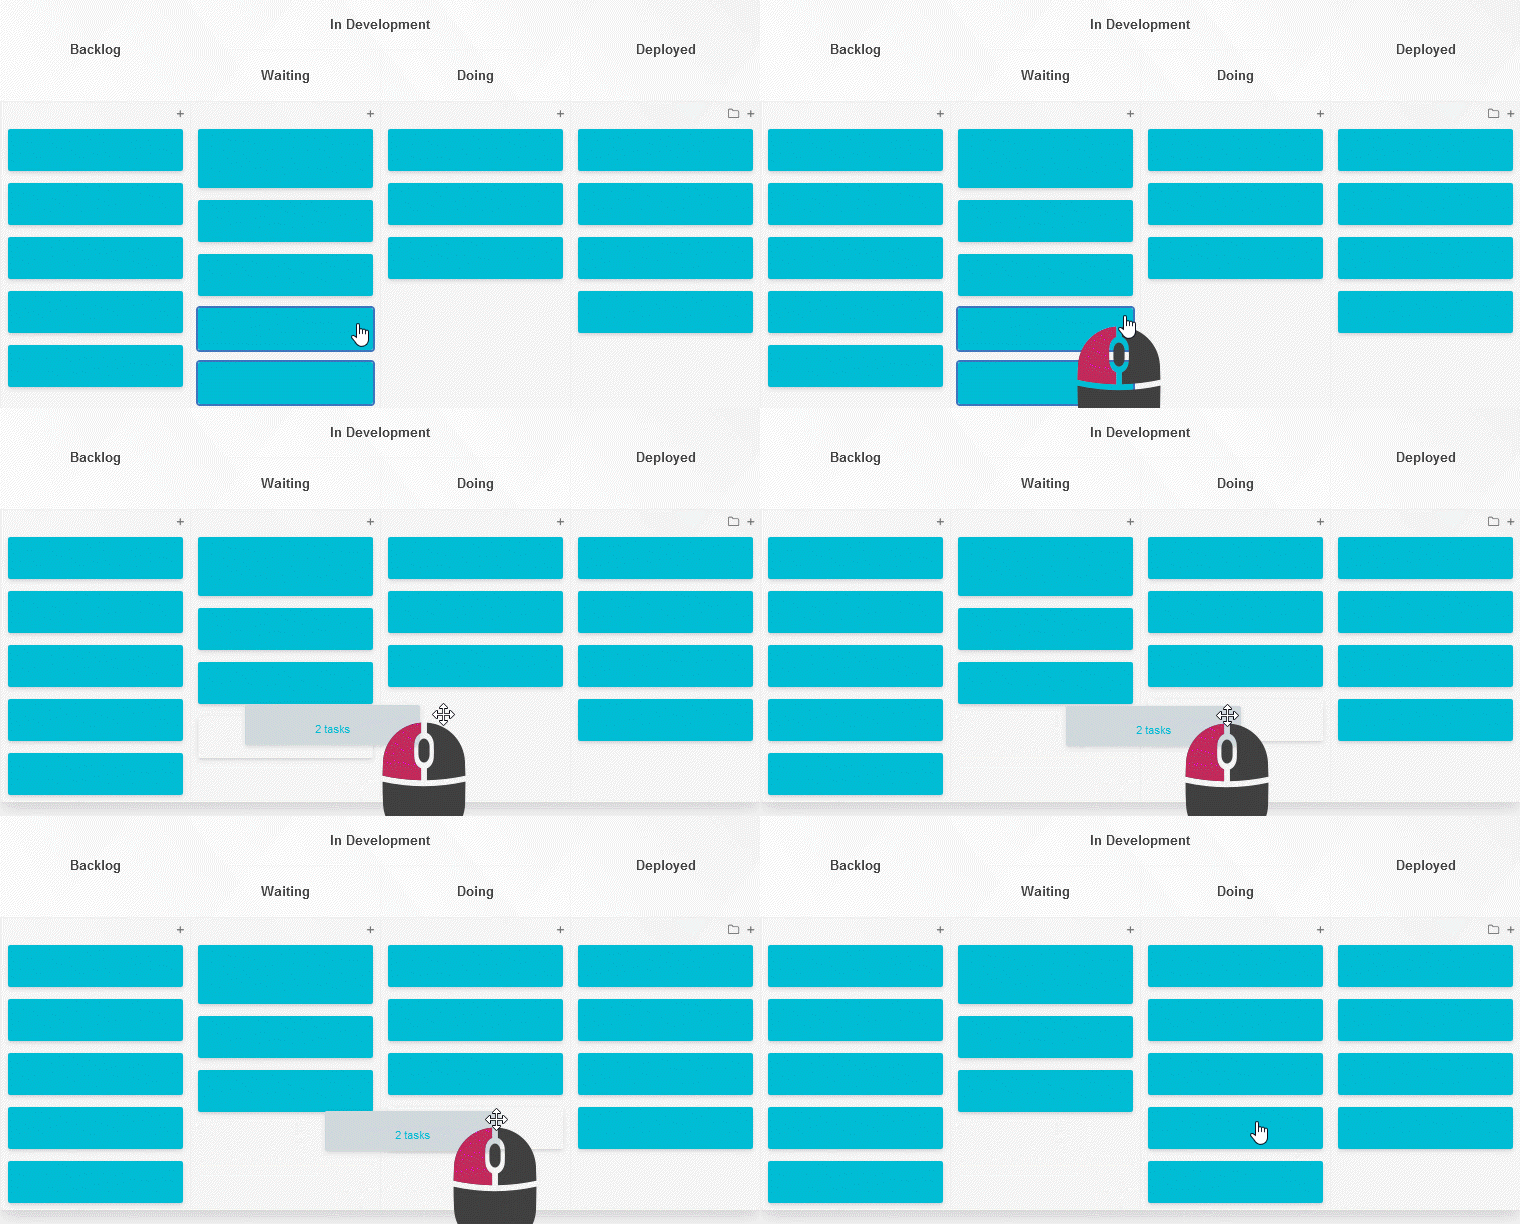
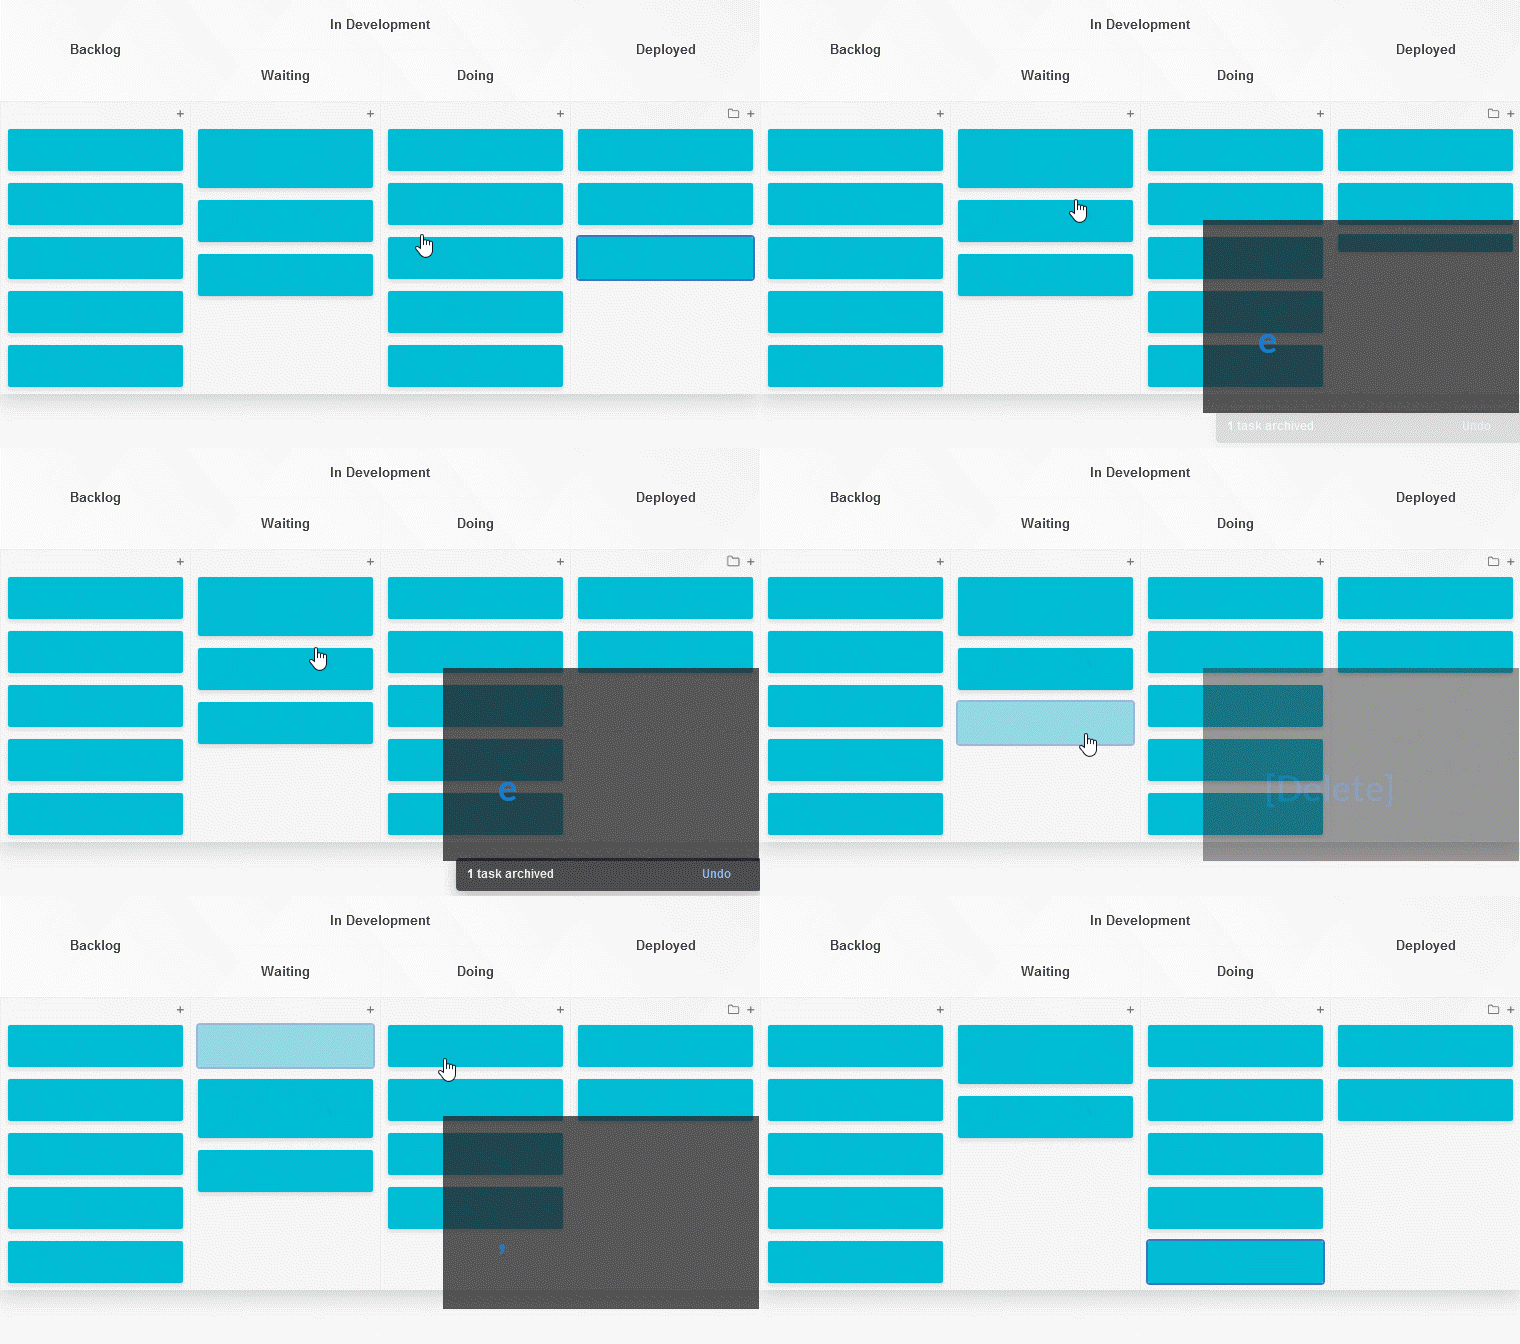
You can also move a selection of tasks to another column, archive, delete them or assign to yourself using keyboard shortcuts.

To add or remove individual tasks to and from the selection, keep the CTRL key pressed and click on cards.

Adding and removing cards from selection

To include another area with the existing selection, keep the SHIFT key pressed and draw another area. This way, your previously selected tasks won’t get un-selected.

Adding another area with SHIFT

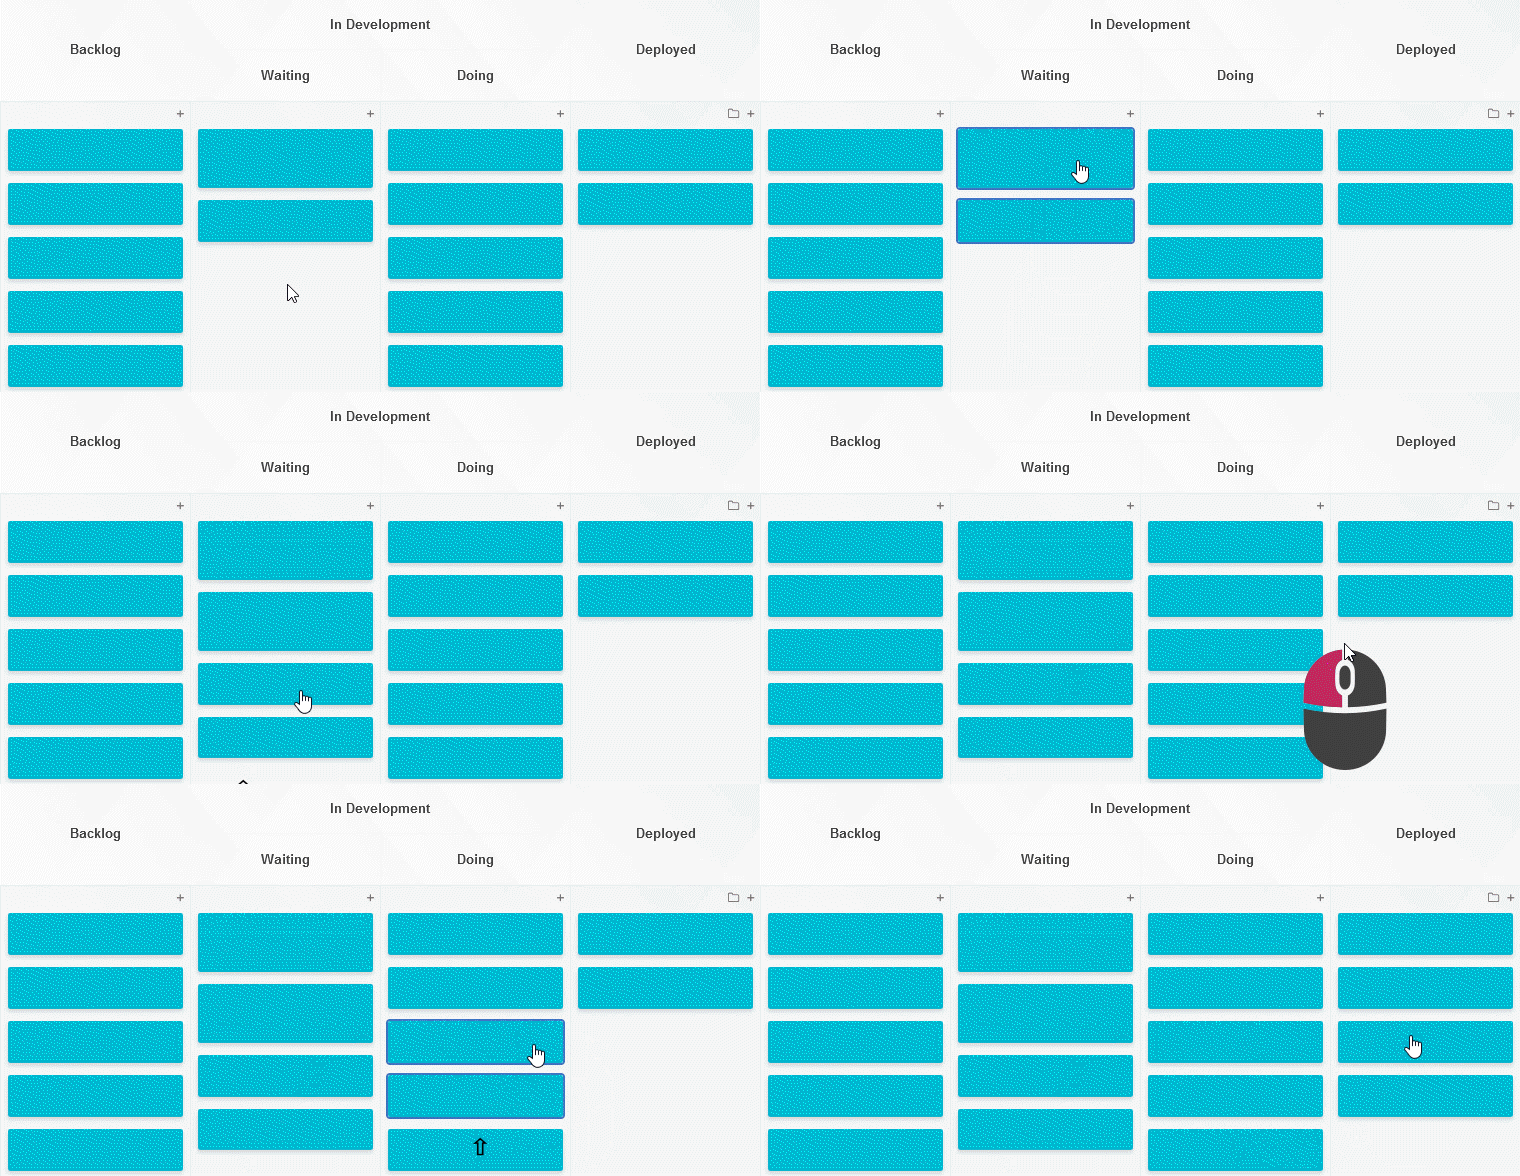
Furthermore, by selecting a few tasks and dragging them with the SHIFT key pressed, you will duplicate all those tasks at once.

Duplicating several tasks by dragging with SHIFT

If you need to edit a multitude of tasks at the same time, consider using the import functionality. For as long as you provide IDs of tasks already present on the board, the imported information will overwrite their current data.

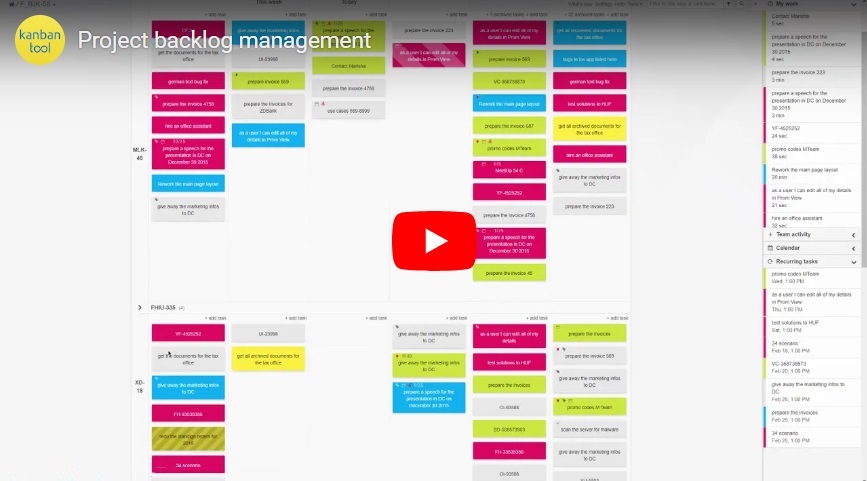
How to manage my project backlog?

How you choose to organize and manage your project backlog is totally up to you - choose a method that suits you best.

Below are a few commonly used strategies that you may find helpful.

If you’re not sure how to edit your board in order to test these approaches, please view this entry.

Does Kanban Tool have a Sprint feature? Can it support a Scrum process?

While there is no dedicated sprint feature in Kanban Tool, it’s not uncommon for users to implement sprints regardless. There’s some freedom in how to approach this.

The easiest way is to make one of the backlog columns a current sprint column. From that column on, work progresses through all other stages, until the sprint column is empty. Meanwhile, any tasks for future sprints can be added to the backlog stages preceding the current sprint column.

Does Kanban Tool have a Sprint feature?

Other successful Kanban Tool sprint approaches are:

  • Using a new swimlane for each sprint
  • Tagging tasks related to one sprint with a specific tag
  • Assigning a set card color to cards within a set sprint.
  • Creating a tree of dependencies between cards within one sprint.

To learn a little more about how Kanban Tool can be used for a Scrum process, please read this Blog post, or view the below video:

Is there an auto-archive feature?

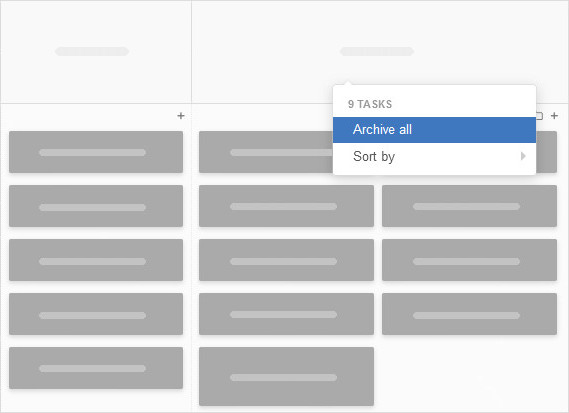
To speed up archiving done tasks, you’re welcome to use the archive all option, available under right-click on a column header or on empty space between cards.

Archive all tasks in the done column

Kanban Tool Enterprise plan users can create own rules, for when tasks should be automatically archived.

To create such automation for your board, go to board Settings - Process Automation and type in the conditions for when items should be archived. Feel free to base it on the example below (click to view larger image):

Automation Rules - Example H

To learn more, please visit automation rules examples page.

Don’t see an “archive” option in your Kanban card’s context menu? Read which board columns support archives.

Can I make my board larger?

Yes, you can scale Kanban board to better suit your available screen size, using the magnifying glass +/- icons available in Settings - Board Background.

Can I make my board larger?

Board Settings are only available to board owners and account admins/owners.

You could also design the board to take up more space by using wider columns - so that more than one card will fit in each column, horizontally. To do this, go to board Settings - Board Editor - pencil icon under a column - Lane Width. The number given in Lane Width determines how many cards will align one next to another in that column.

Changed Lane Width setting

What does the Lane Type setting control?

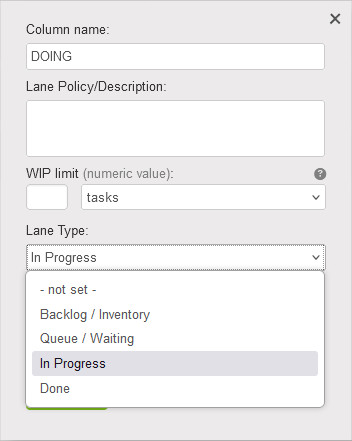
You can set a lane type for each of your board columns. There are 4 types available:

  • Backlog / Inventory
  • Queue / Waiting
  • In progress
  • Done

What does the Lane Type setting control?

You will need to apply the appropriate lane types to your columns in order to use the Time Tracking in a truly seamless way. Timers will start automatically for tasks moved to an “In Progress” type of a lane, and stop on their own upon a task move to any other lane type.

The Done lane type determines the due date countdown to not be shown on cards. We assume you’re no longer worried about a due date for items that you are done with. If your process requires the countdown to be shown, make sure to set your Done column to either the “Backlog / Inventory” or “Queue / Waiting” lane type.

Lane types also play a role in the Time in stage Power-Up - time spent in columns of the same lane type will get the same color on the Time in stage graphic.

You can edit your columns’ Lane Types in board Settings - Board Editor - using the pencil icon under each column.

How to use the board navigator?

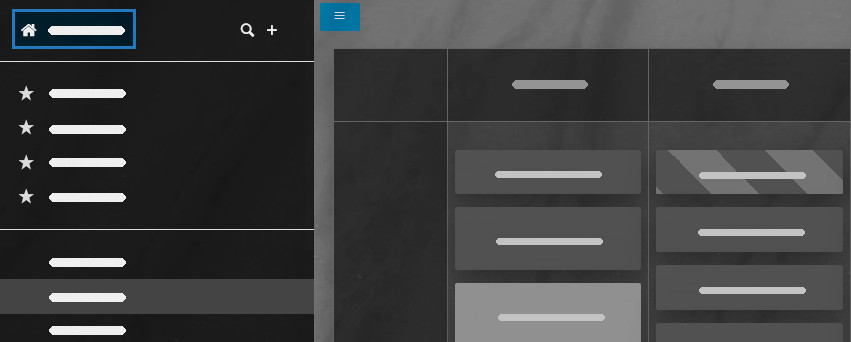
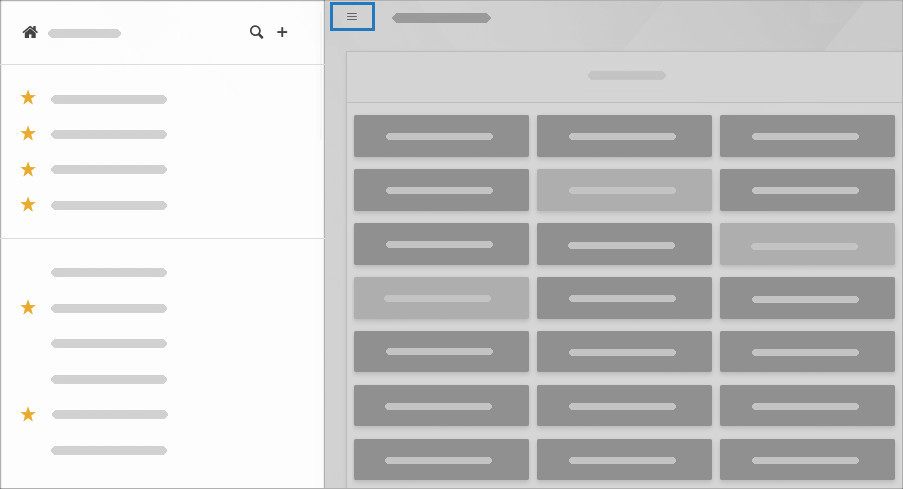
The board navigator opens with a click on the 3-line / hamburger menu at the top-left corner of any board. It lets you quickly load other boards directly over the same page, saving time and limiting mouse clicks.

Accessing the board navigator from a Kanban Tool board

The navigator will save your current scroll position on each board so that if, for example, you had been focused on tasks in the bottom swimlane of the board before you changed boards, then upon your return, you’ll be taken to that very same spot.

Note that the board navigator lists only those boards that you have entered at least once, saving you from having to see the projects that you’re not working on.

However, if you are partaker in many boards and want to quickly find one of them, please use the built-in search. Click on the magnifying glass at the top of the navigator panel, and type in the name of the wanted board.

Searching for a board from the navigator view

Furthermore, if your list of boards is very long, you can add stars to those you use the most so that they get listed at the very top.

And to switch to the dashboard view, to e.g. rename, clone or delete a board, please click the Home icon or the account name shown at the very top on the board navigator panel.

Can I expand my Kanban Tool project with ease?

Yes, Kanban boards can be scaled and redesigned with ease, accurately representing your changing or growing workflow. Expanding the layout, enabling optional features, inviting more team members, and building your own process automation rules will all keep the board fitting with how you work.

We recommend starting small and building up the board as you go.

All changes can be applied from the Settings page, available to account admins and/or board owners.
How to visualize epics in Kanban Tool?

It’s worth noting, that in Agile workflow management, the term epic can hold different meanings for different people. Some see an epic as a general outline of a task. For others, it’s a goal that breaks down into a series of smaller jobs.
There will also be those people for whom each project is an epic. These differences stem from a lack of a uniform definition of the concept. However your team defines an epic, it should be fairly easy to incorporate them into your Kanban Tool project.

1. A dedicated board for each epic

The most straightforward approach, giving you complete control over who can access the epic, and in what capacity (editing or view only).

One epic - one Kanban Tool board

Reporting: automated metrics - the Cumulative Flow chart, Lead & Cycle Time, Breakdown Charts, and Time Reports.

2. A designated swimlane for each epic

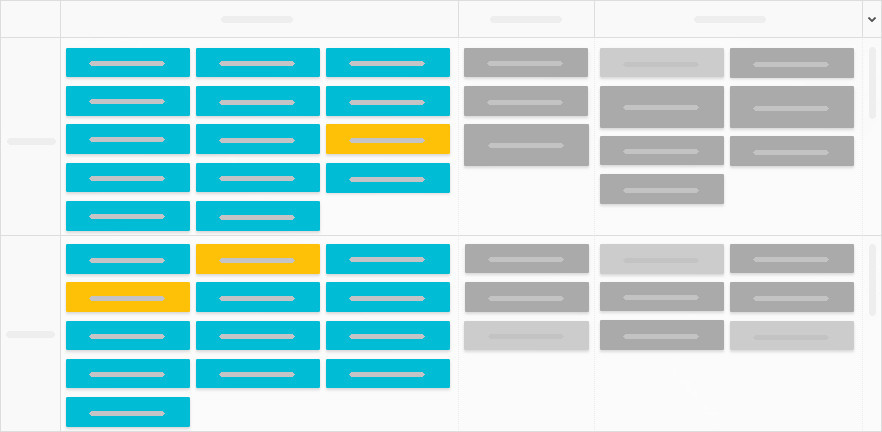
Although not offering the control of access to specific epics, using board swimlanes for each epic minimizes the amount of project switching required to work on parts of several epics during a day. It will show you the real-time progress across each epic in one place.

One epic - one Kanban Tool swimlane

Reporting: automated metrics - the Lead & Cycle Time, Breakdown Charts, and Time Reports, all sortable by swimlane.

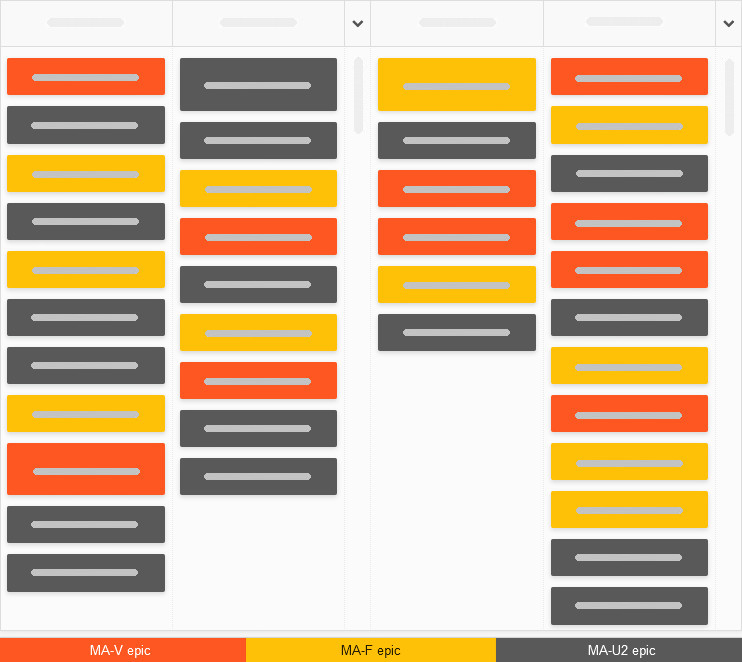
3. A different card type for each epic

A highly visual approach, letting you shuffle your work across a board, or several boards, without losing track of which card belongs to what epic.

One epic - one Kanban Tool card color

Reporting: automated metrics - the Cumulative Flow, Lead & Cycle Time, Breakdown Charts, and Time Reports, all sortable by card type. Real-time filtering by card color or using the Card Legend power-up can also make tracking easier.

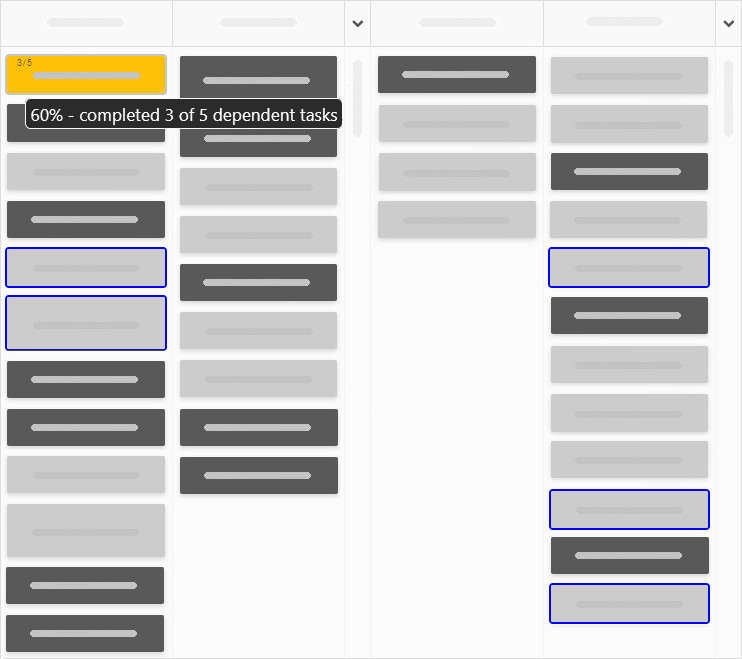
4. A master card as an epic with dependent cards as stories

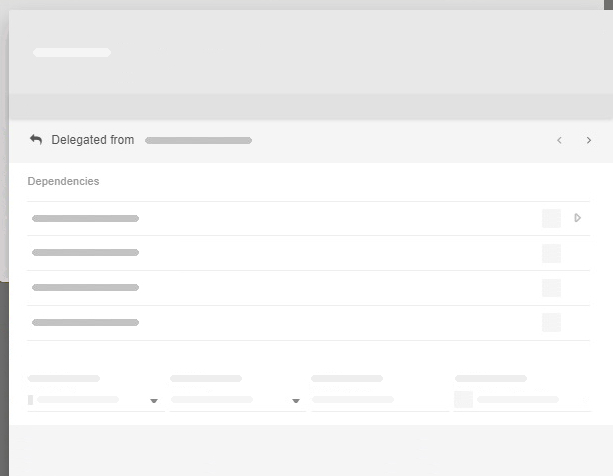
For a strictly hierarchical view of en epic and its sub-tasks, Task Dependencies are the best way to go. Both the master and the dependent tasks show cues on what they connect to; and multi-level nesting dependencies are possible.

One epic - one master task with others dependent

With a neat little Developer Tools add-on, you can also get a visual highlight on the tasks connections, for as long as they are all on the same board.

Dependent tasks in an epic

Reporting: non available.

Why is "clone" the only option in some of my boards' menu?

Account admins and owners can access, edit, clone, rename and delete all boards in the dashboard.

Why is clone the only option in some of my boards' menu - admin owner view

But project manager users have full control of only those boards, that they created themselves, or that they were made an owner of.

For that reason, on boards that a project manager user has not created, nor owns, but has been given access to, they will only see the clone option.

Why is clone the only option in some of my boards' menu - project manager's view