What are swimlanes and how to use them?
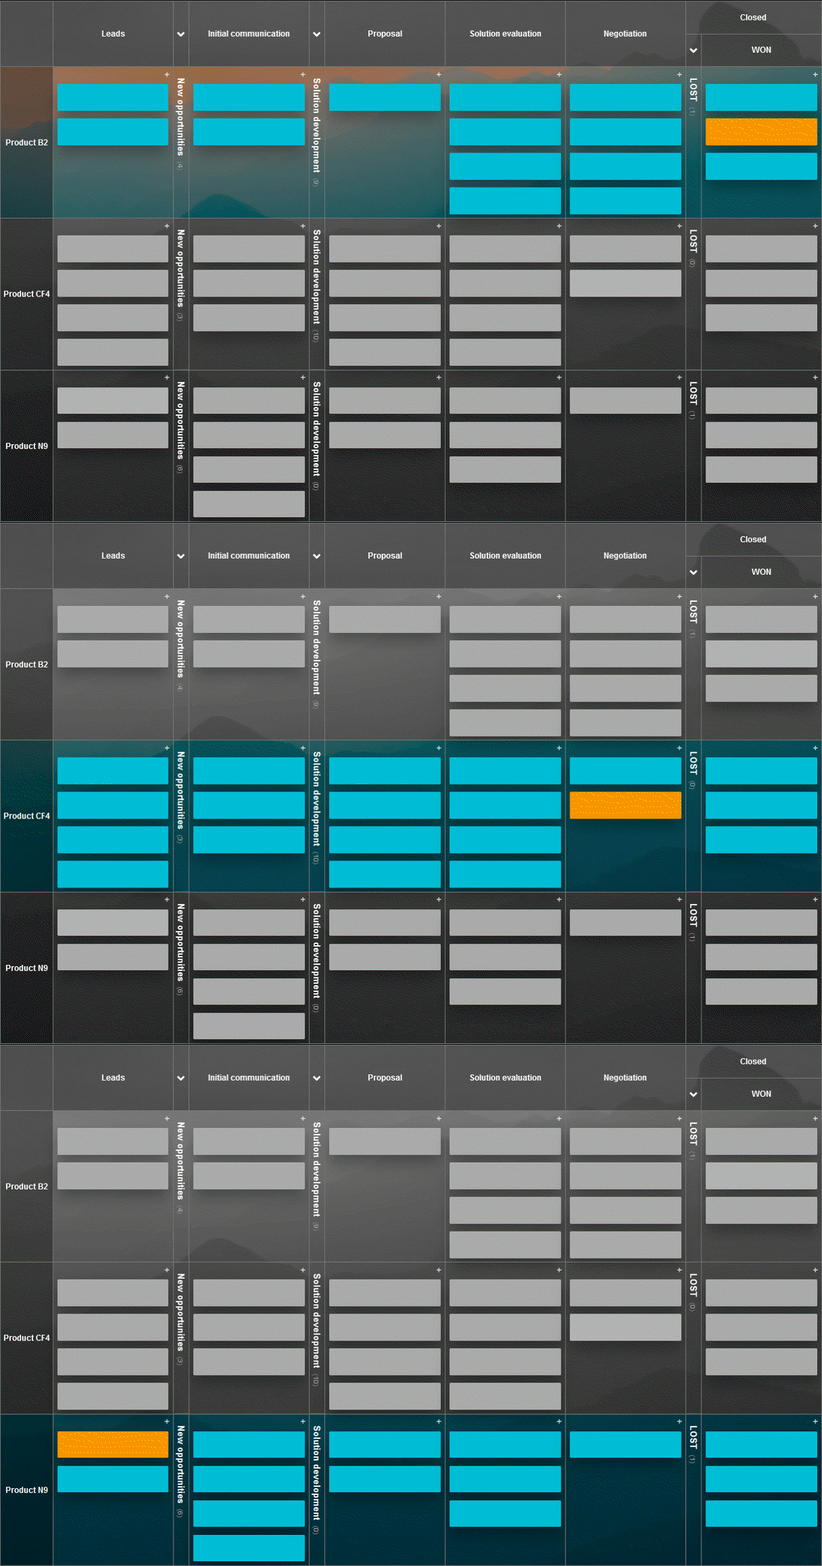
Swimlanes are an excellent way to manage multiple similar projects on a single board. They provide a comprehensive overview while allowing you to focus on individual projects by collapsing the others. Think of swimlanes as rows that help you organize work vertically across your board.

You can use swimlanes however it best suits your workflow, but here are some popular approaches:
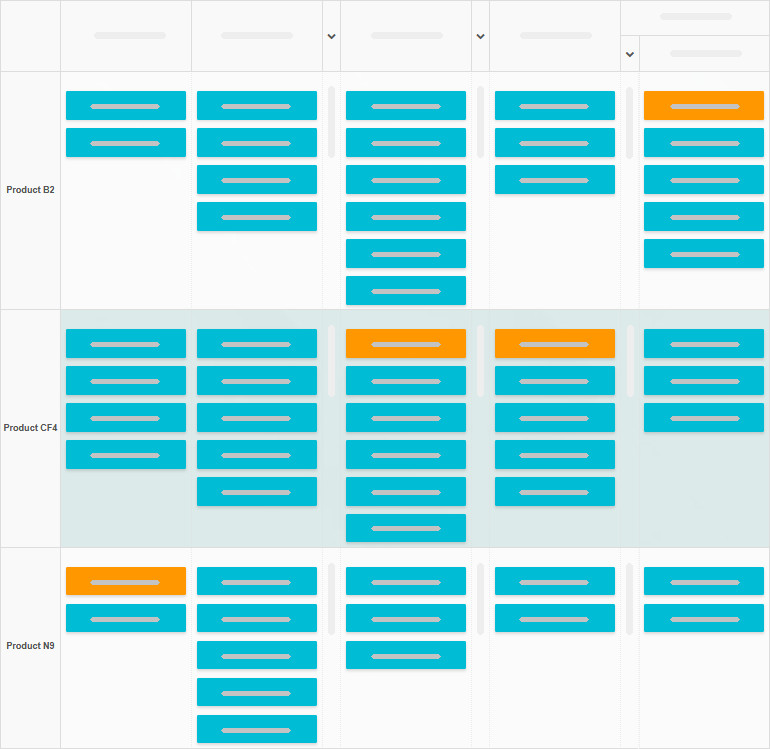
- One swimlane per client or product.
Perfect for managing multiple clients or products that follow similar process steps (columns). Instead of recreating boards, you simply add new swimlanes for each client or product.
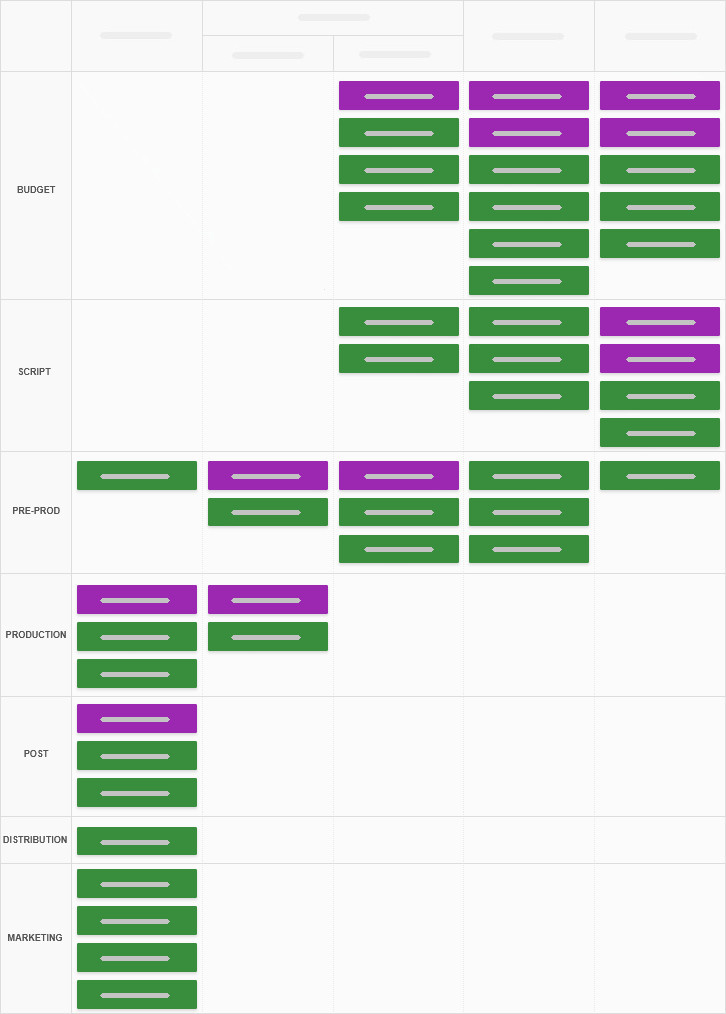
- One swimlane per team.
For complex processes involving multiple teams, swimlanes can help visualize who is responsible for each task at different stages. Tasks flow from left to right (columns) and from top to bottom (swimlanes), making it easier to track work progress across teams.
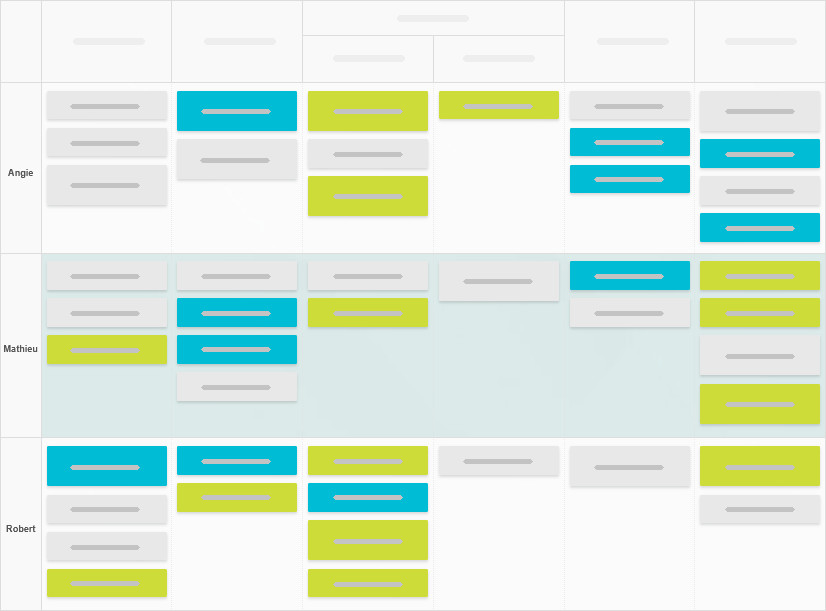
- One swimlane per employee.
In smaller teams, assigning a row per person is a great way to instantly see individual workloads and responsibilities.
Need help adding swimlanes?
If you’re unsure how to add a swimlane, check out our guide on editing the Kanban board.